Hi everyone!
It’s Fun Project Friday!
How many times have you passed up a piece of used furniture that would be perfect for your home, BUT… you didn’t buy it because it wasn’t the right color… or it needed some TLC… or it was grossly outdated?!?
That’s the kind of furniture I LOOK for… the kind of furniture I LOVE!!!
If it’s functional, has good “bones”, and is priced right… then you can bet it’s coming home with me!
Hmmmmmmm…. I suppose that would explain the mountain of inventory I have stockpiled in the barn, wouldn’t it?!? 😉
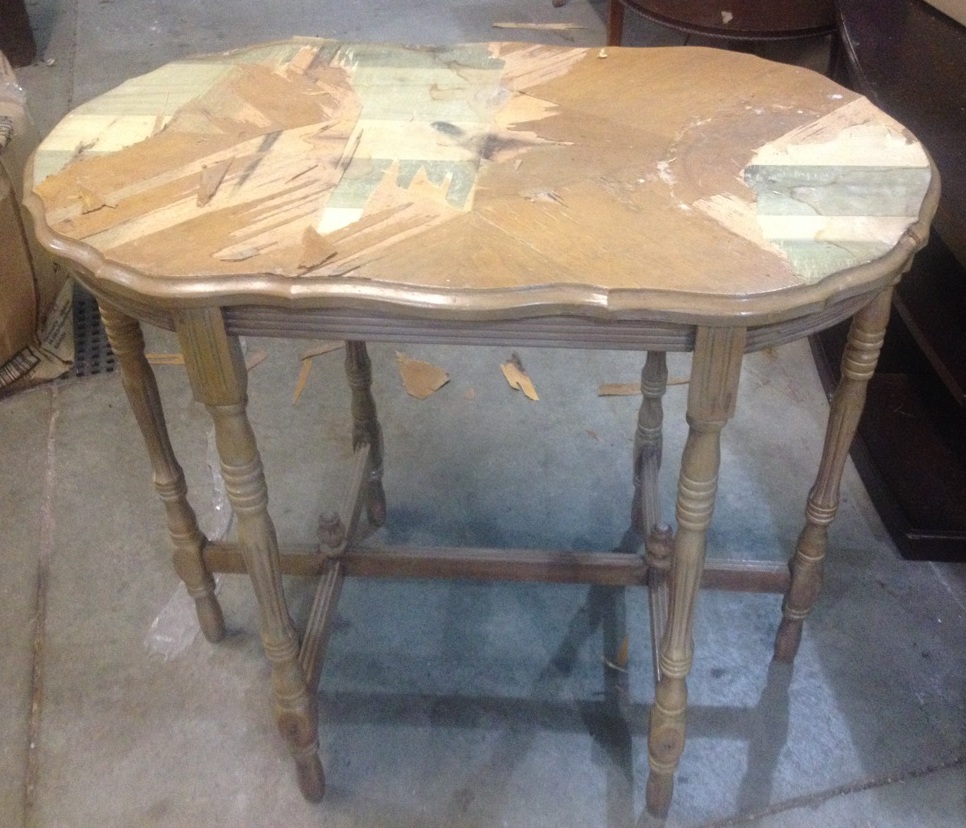
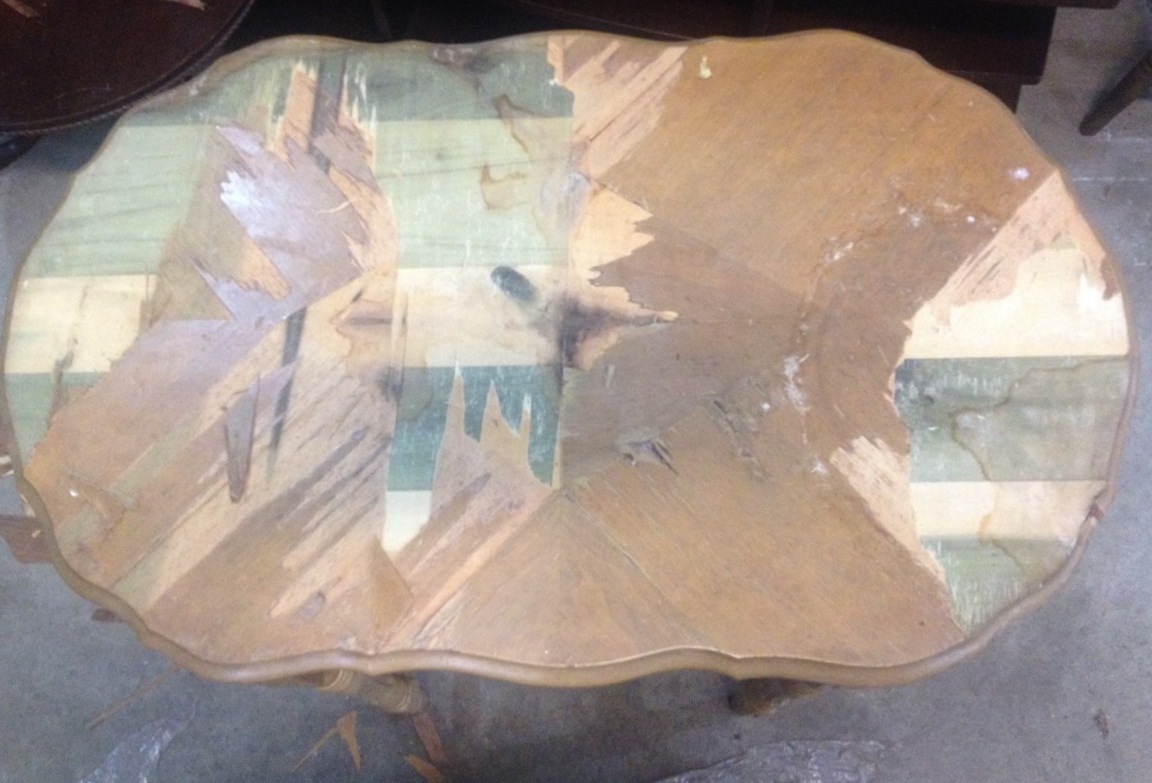
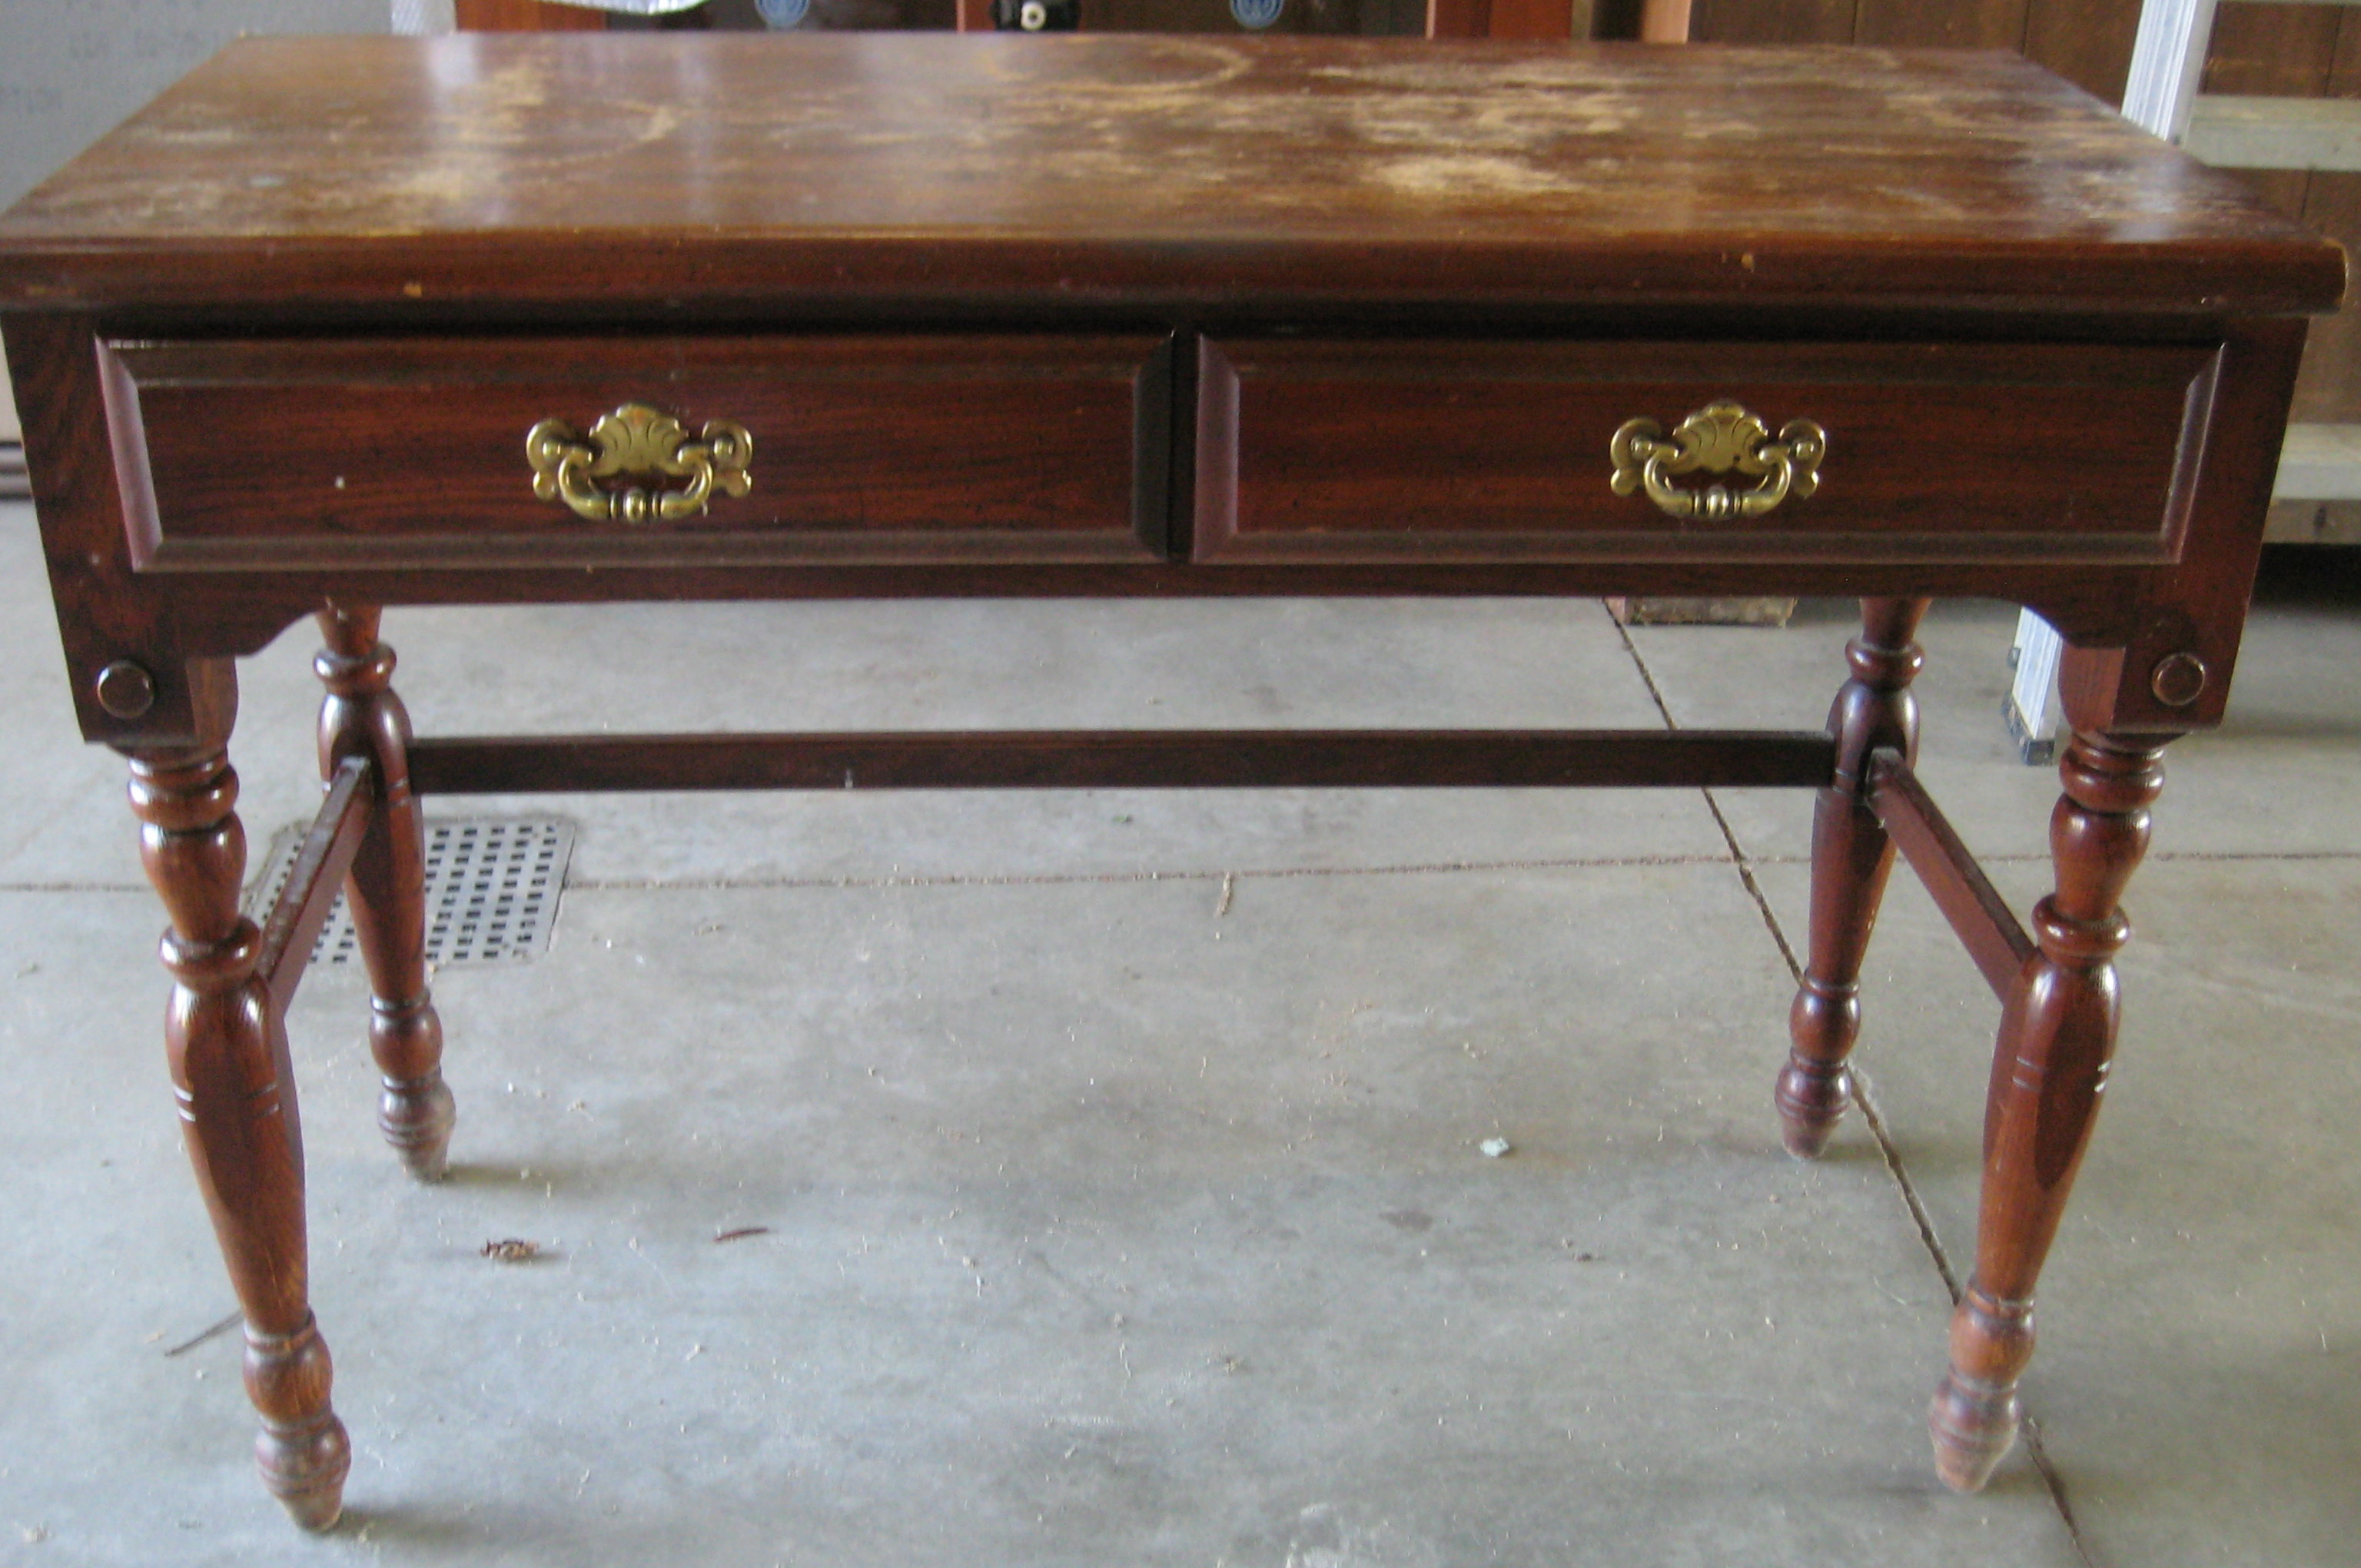
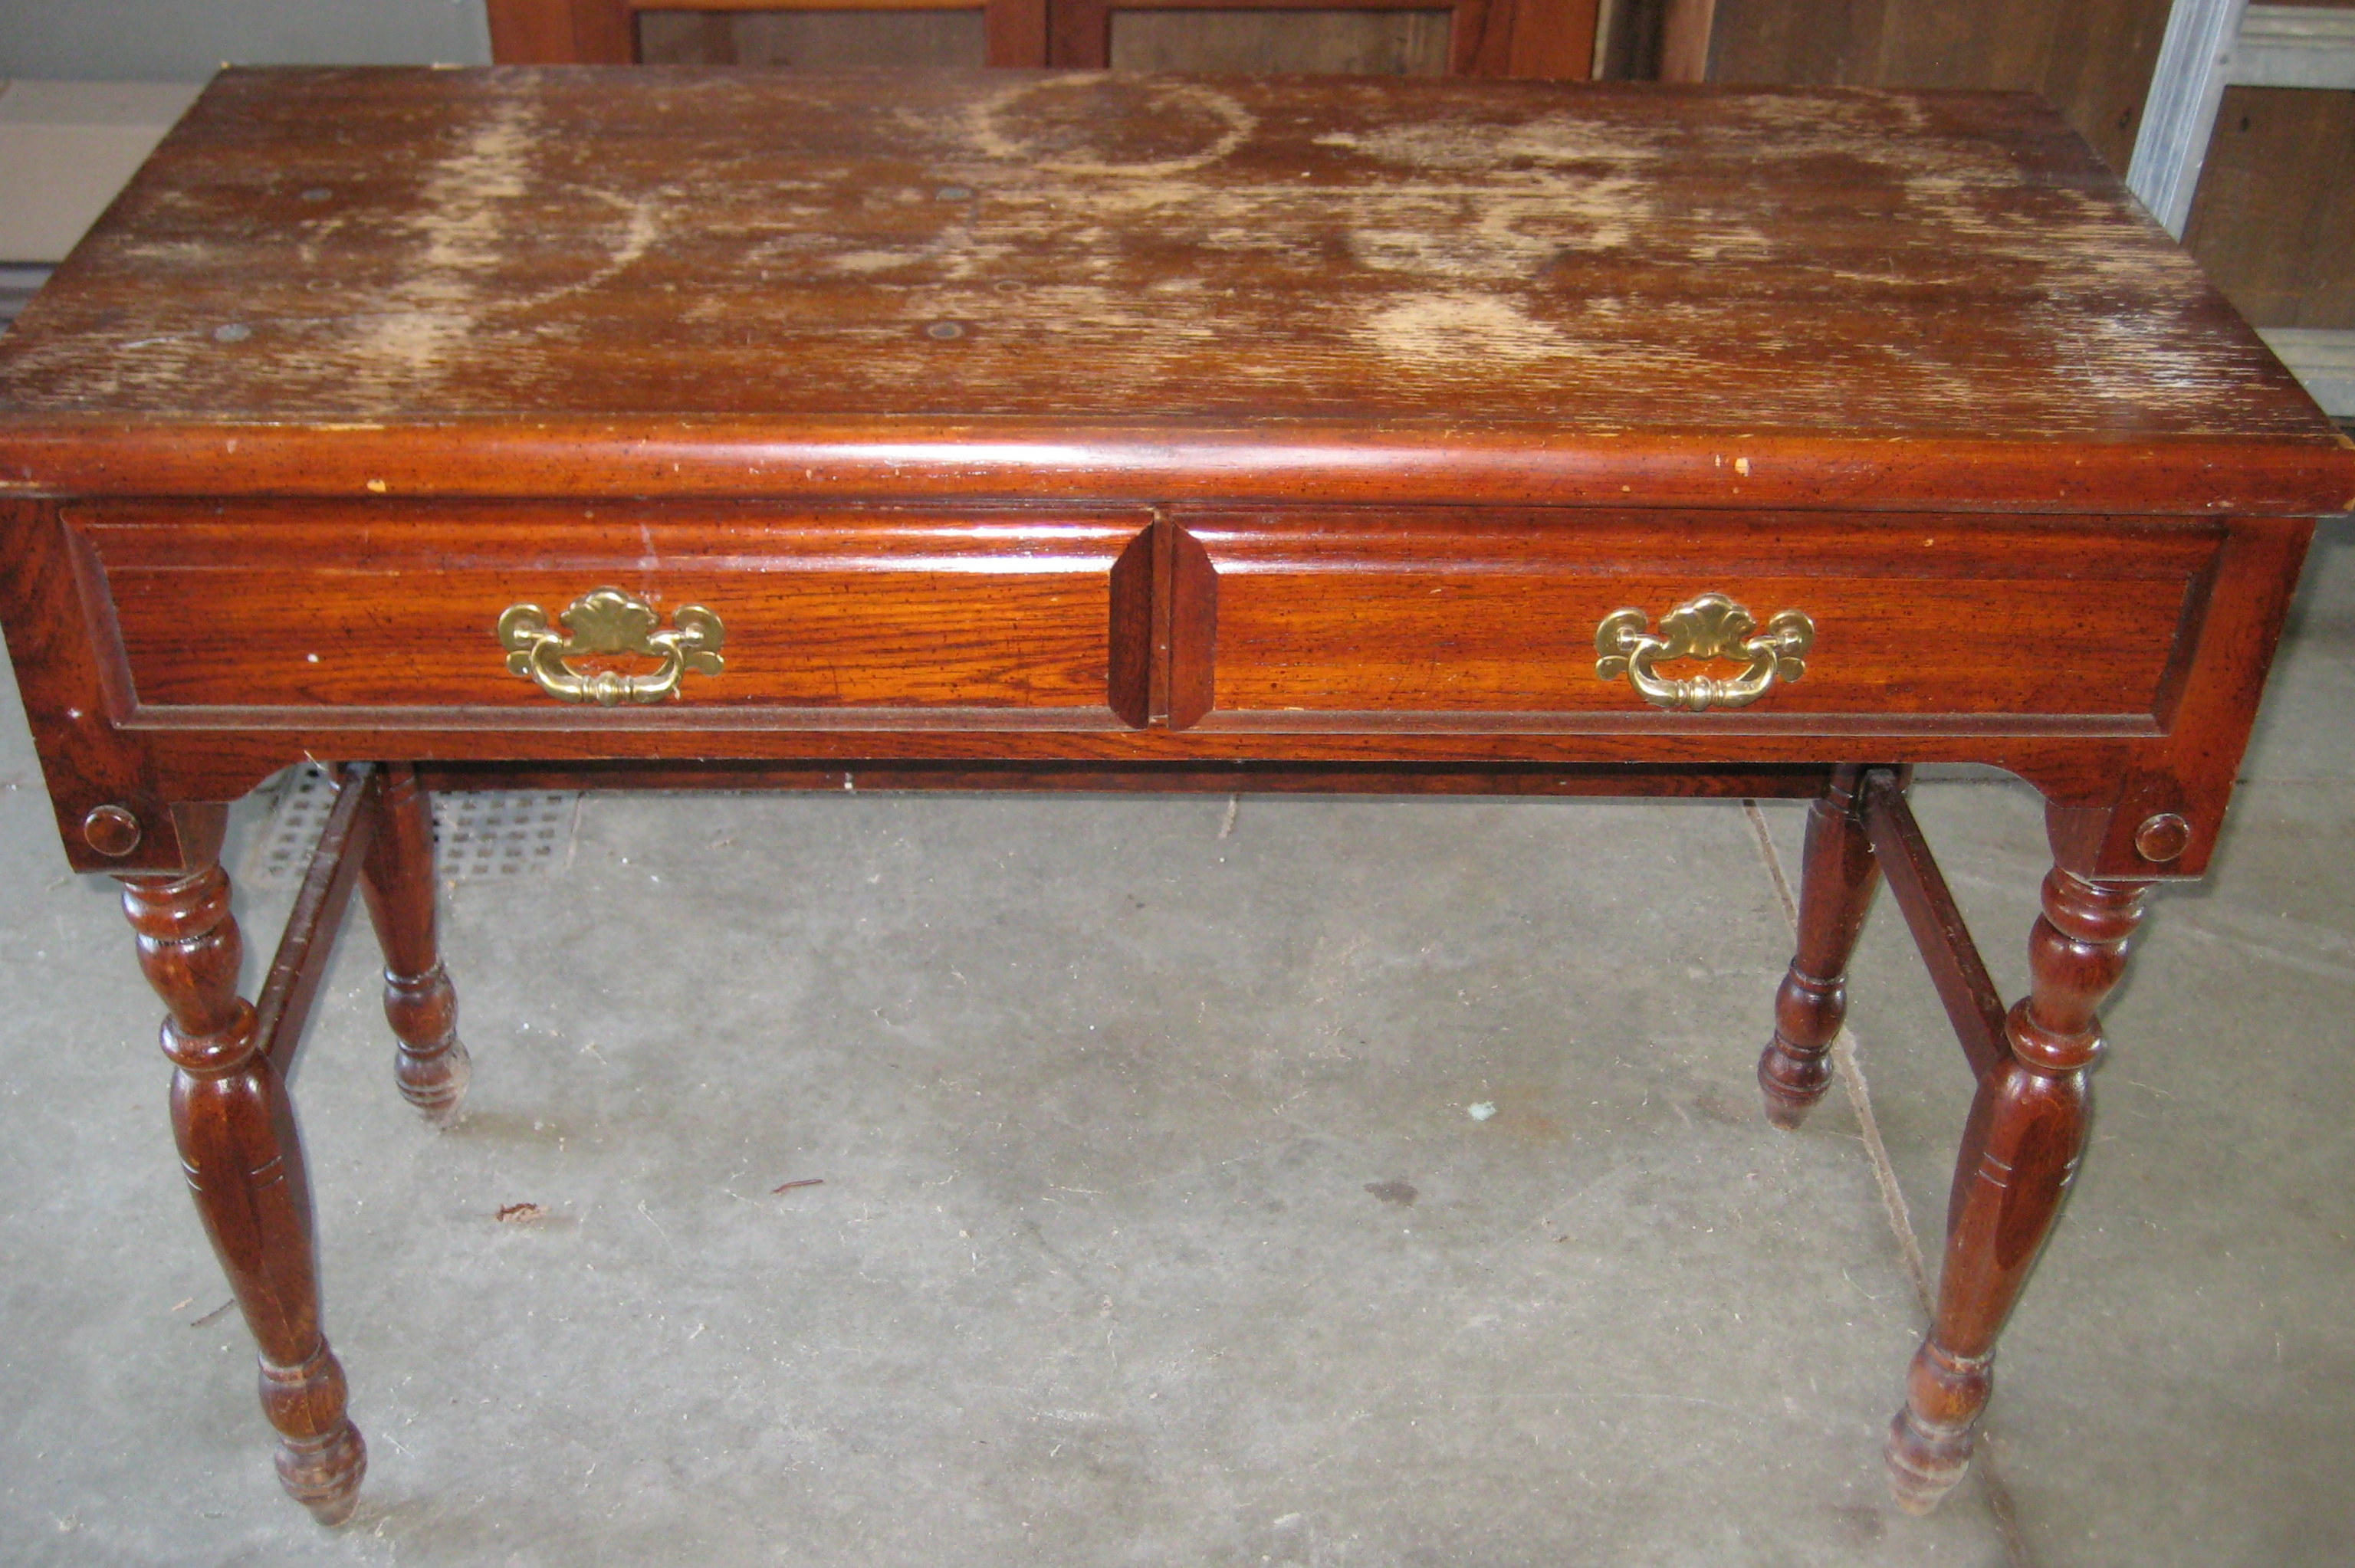
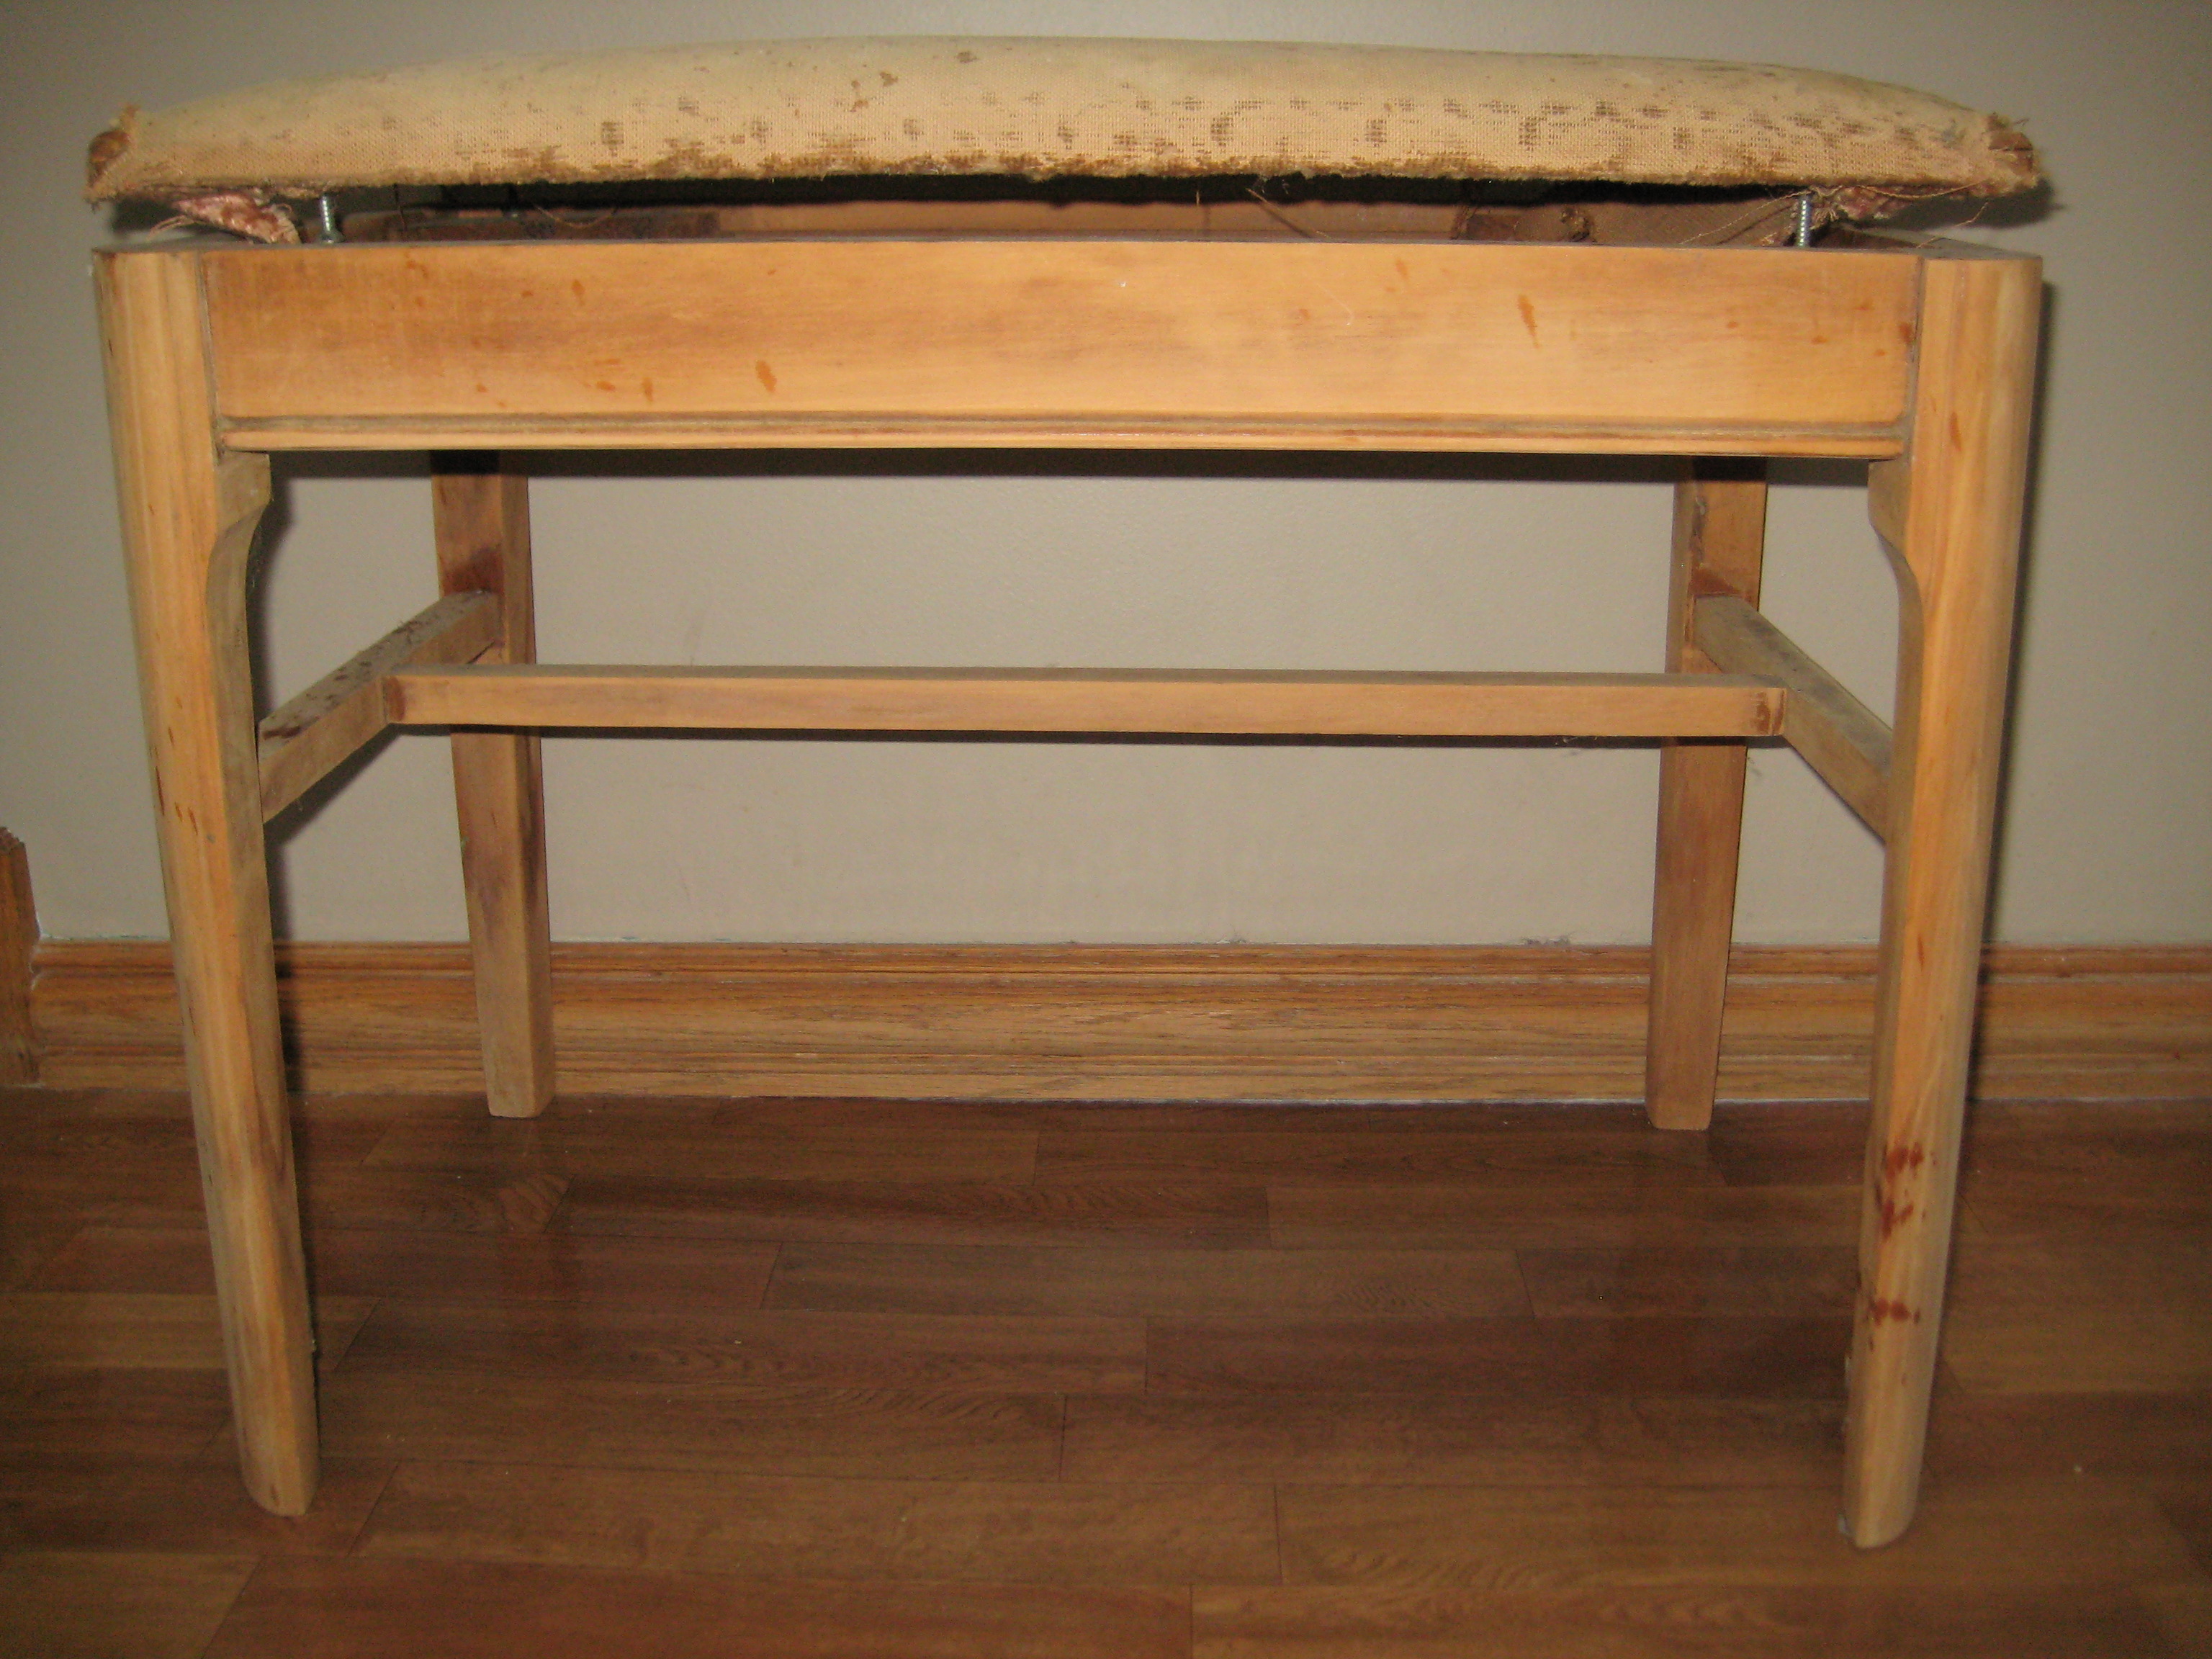
I stumbled upon this wooden bench at one of the local thrift stores, and when I saw the $4.99 price tag on it, I knew I HAD to have it!
-
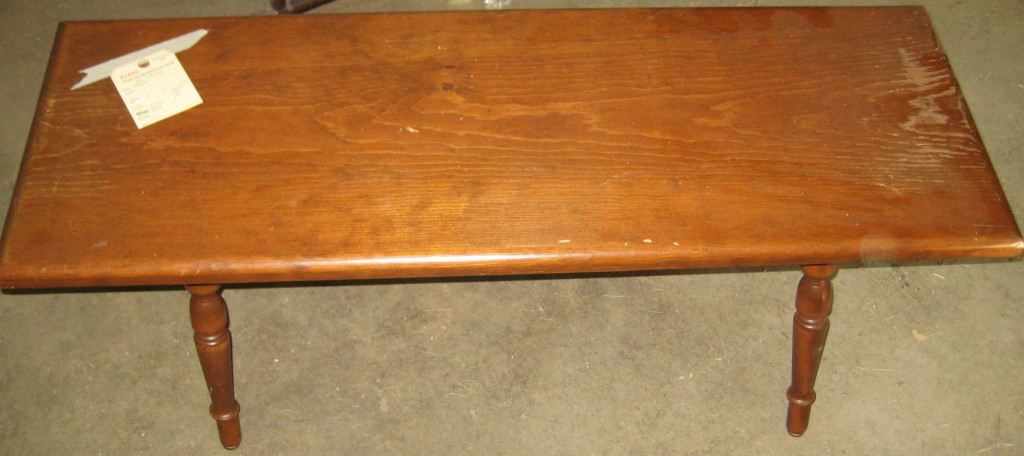
- Wooden Bench- Before
Three months later, I finally figured out what I was going to DO with it…
Structurally, it was a very solid piece of furniture… but cosmetically- it was just plain U.G.L.Y. !
The first thing I did was to clean that baby up! Then I took it completely apart.
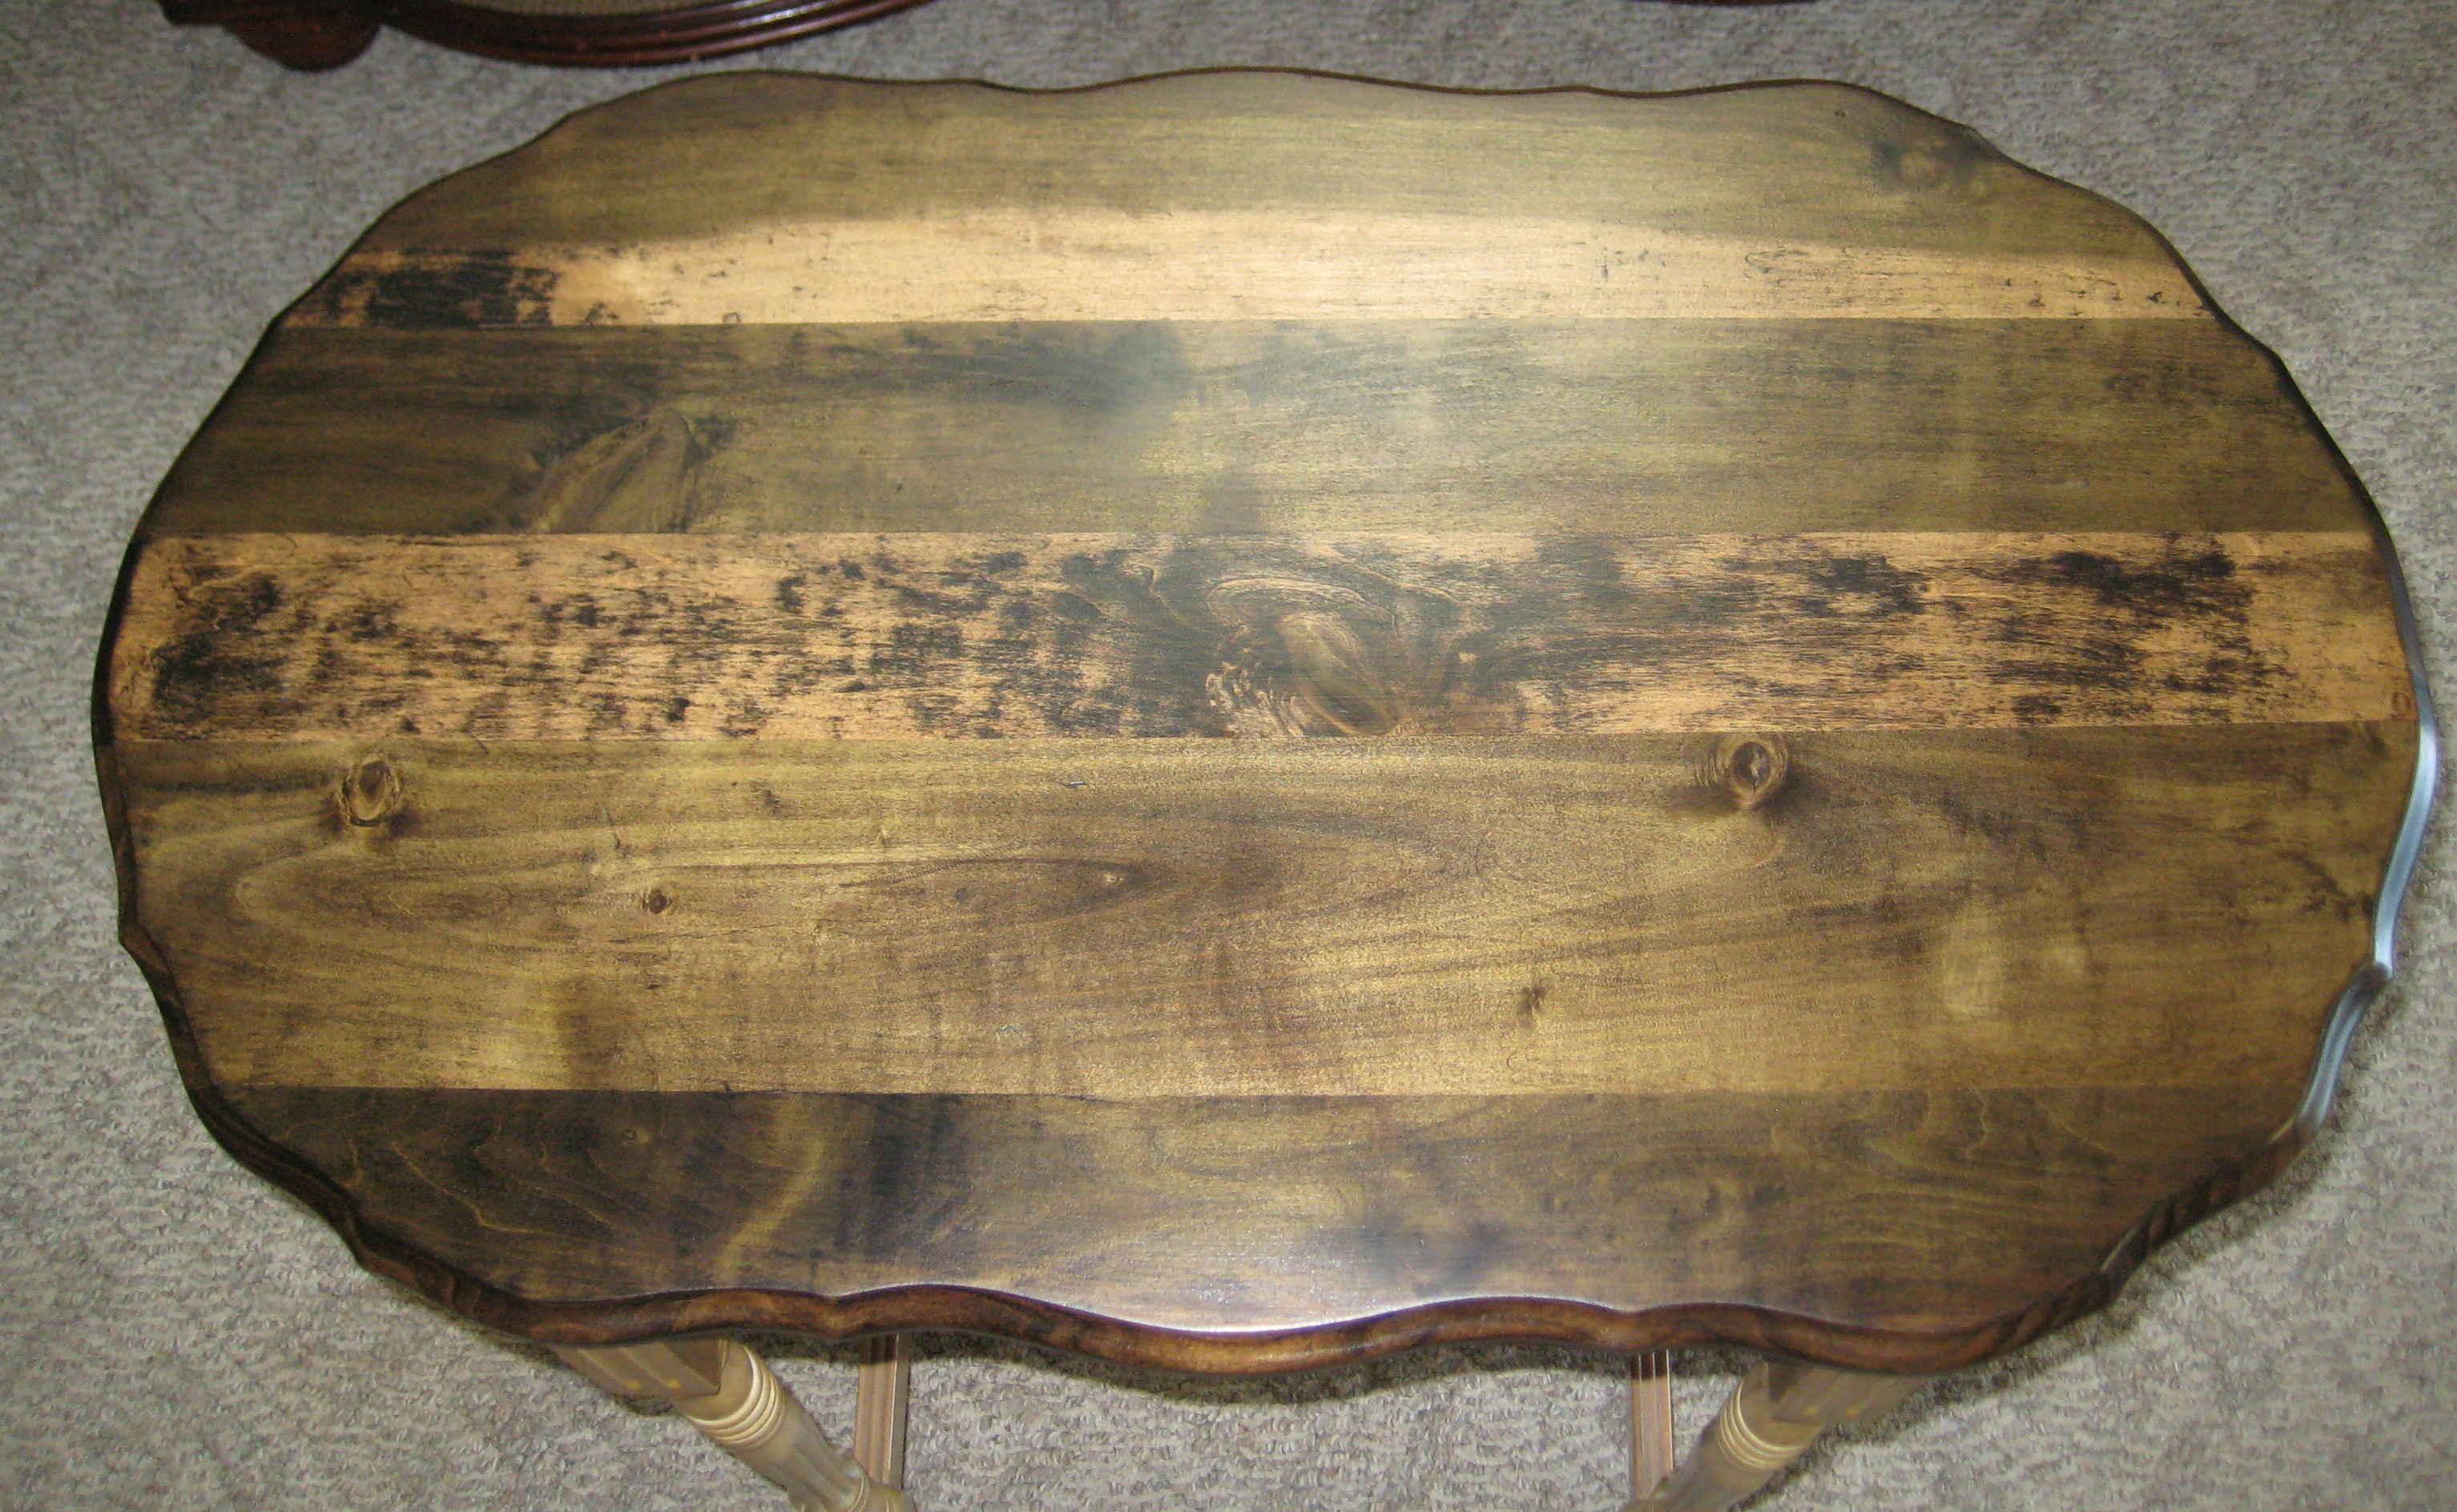
There were tons of scratches and the finish was very worn, so the seat was sanded down to bare wood, stained, and a polycrylic topcoat applied.
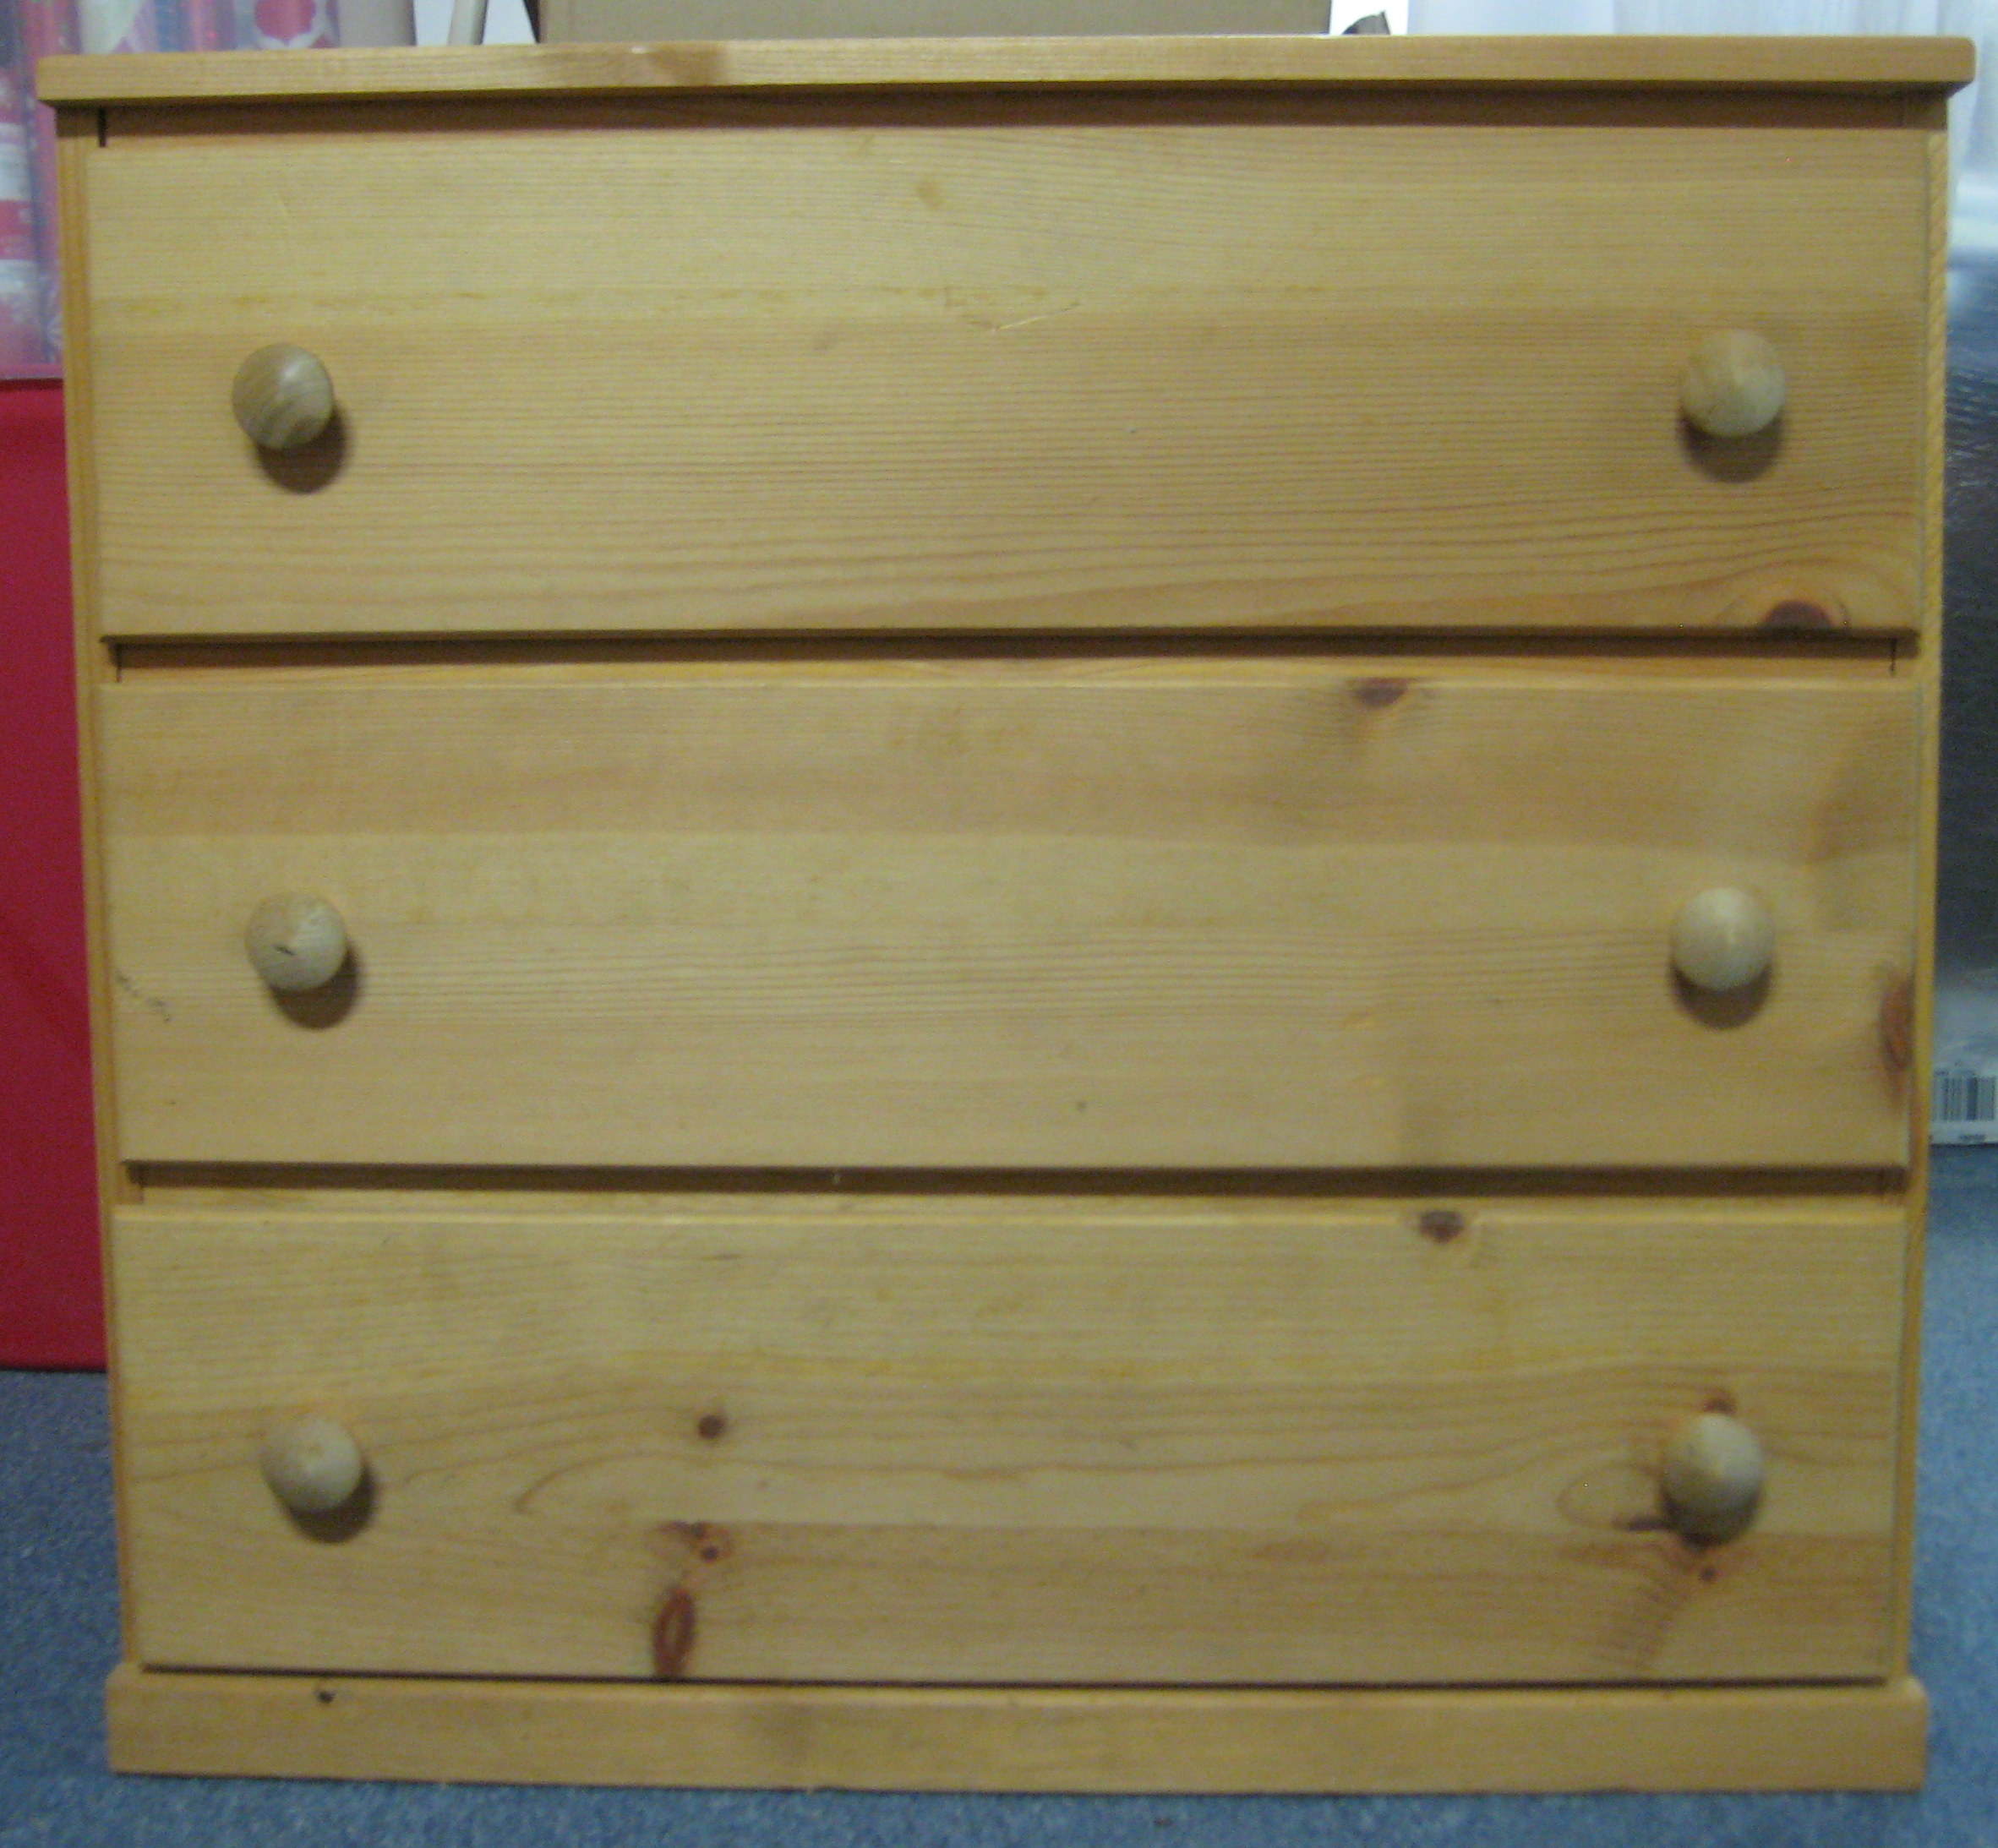
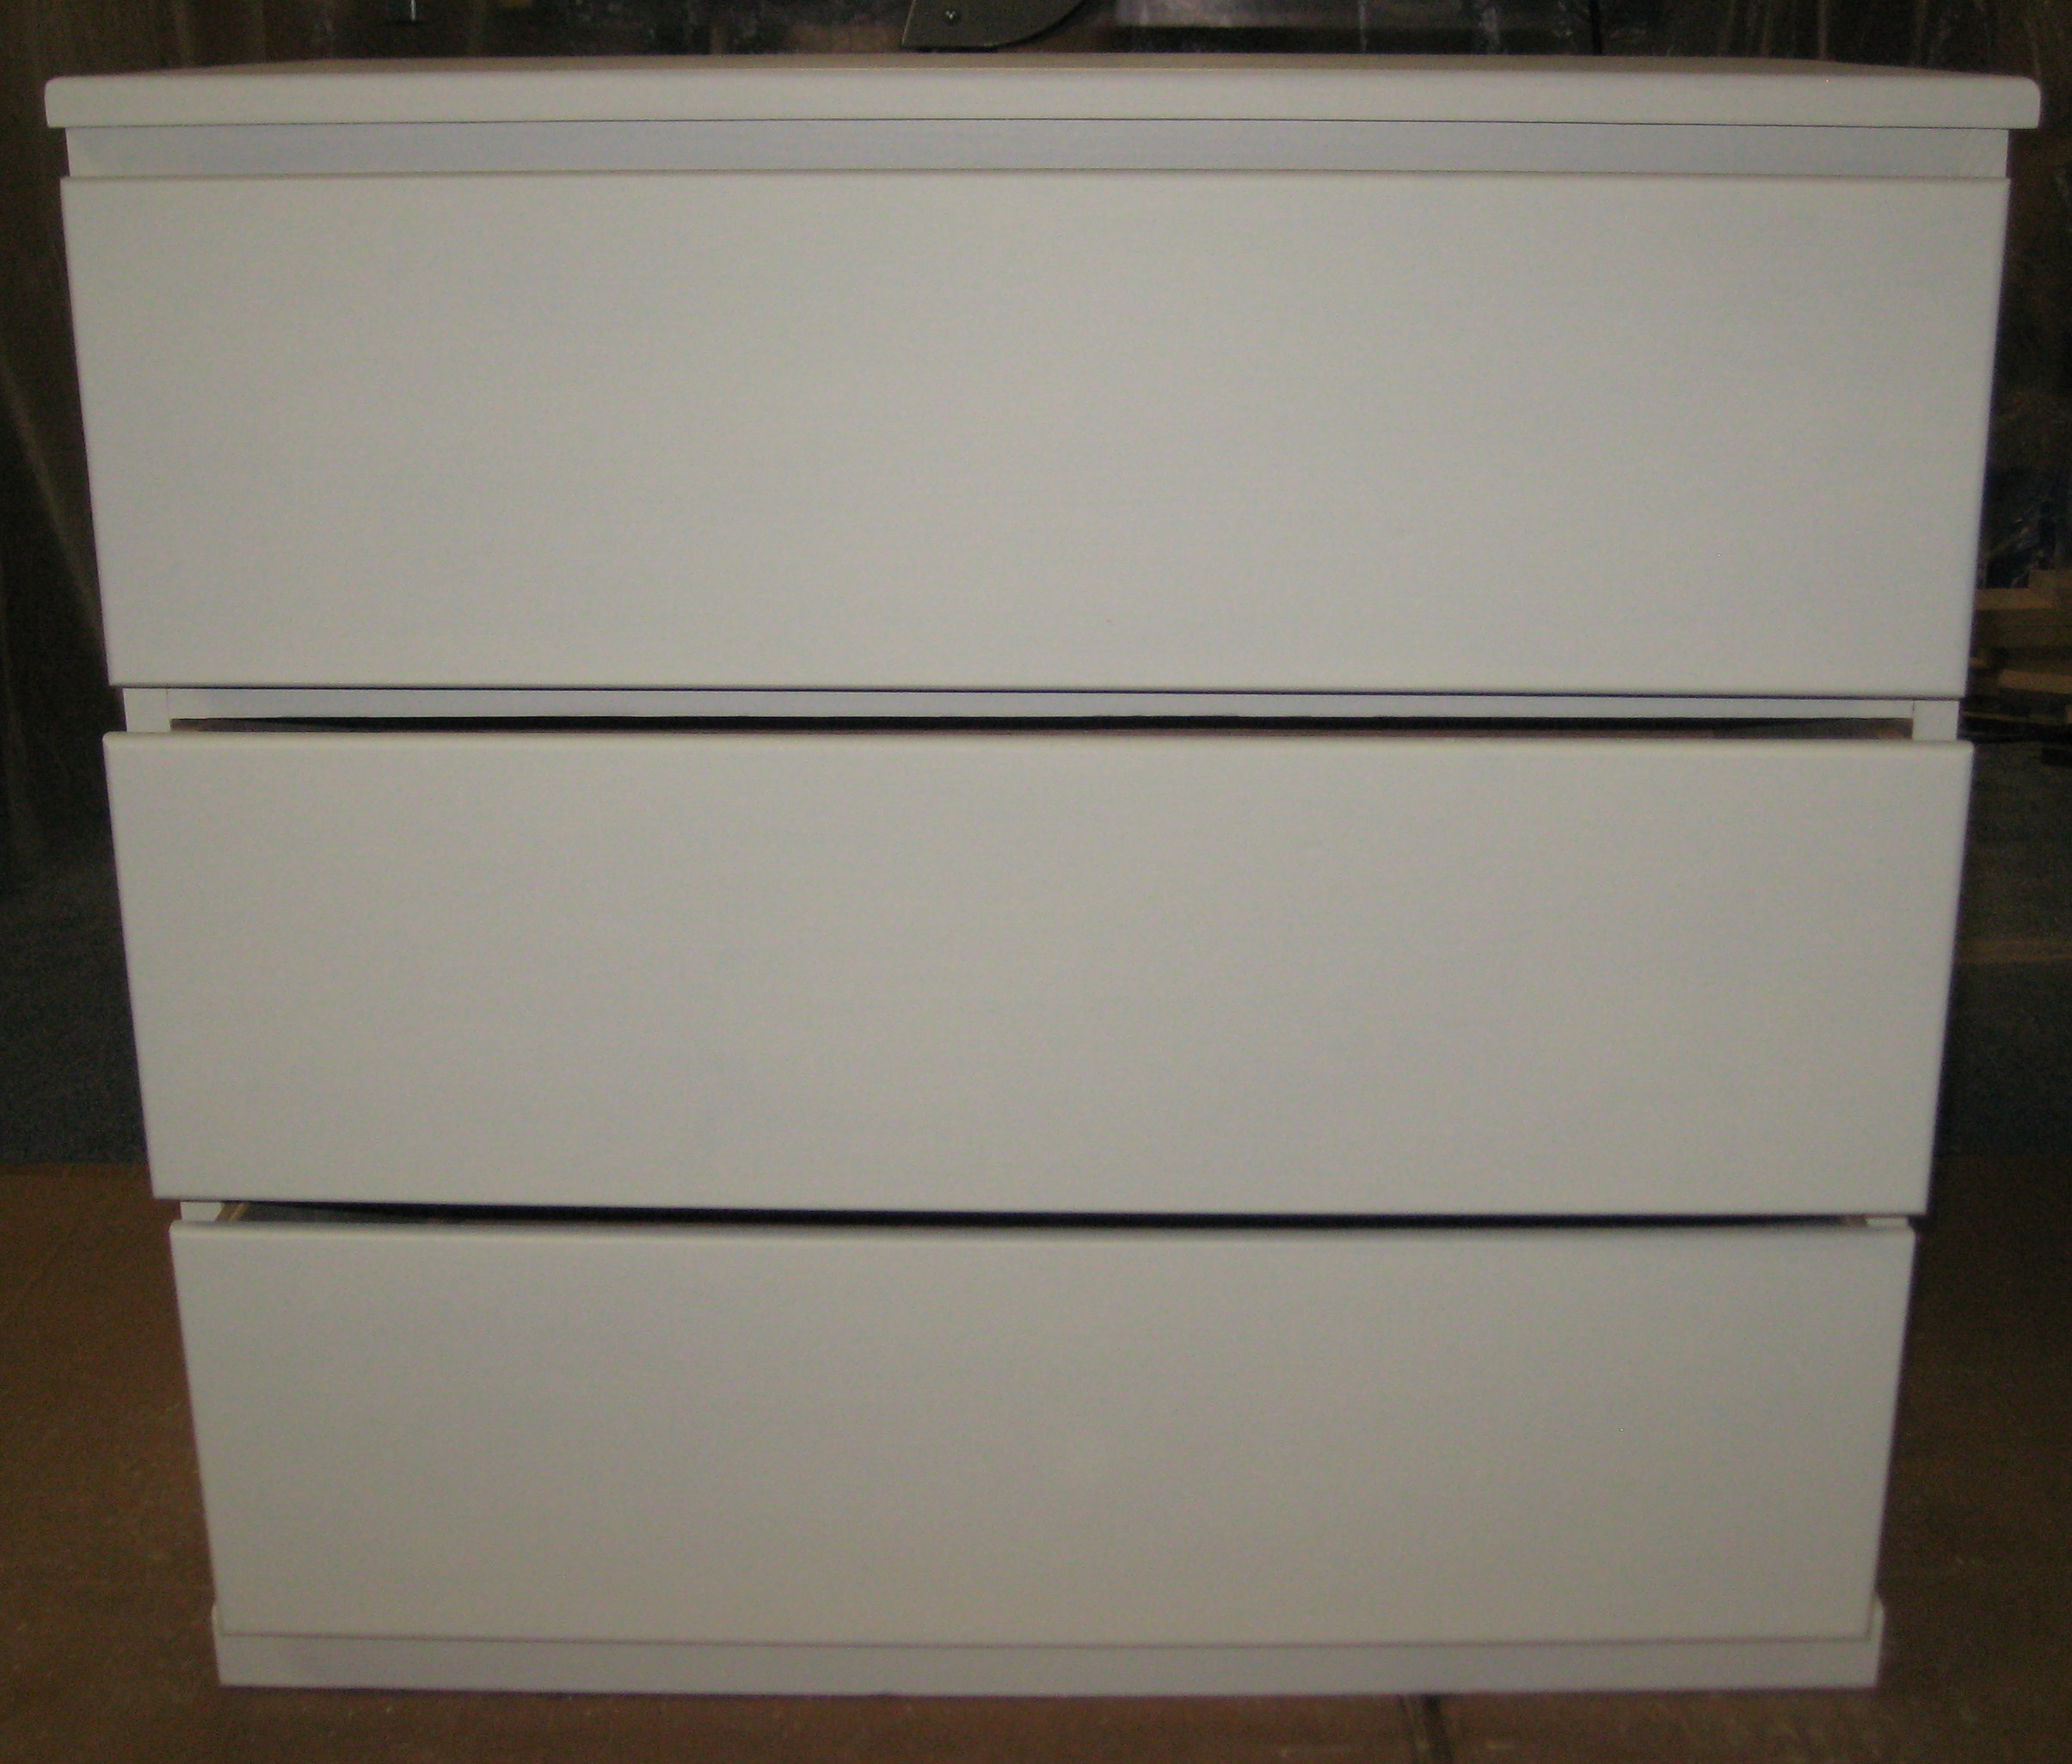
The hardware for the legs were scrubbed and given a fresh coat of ORB spray paint. The legs and supporting pieces were primed, painted with some soft blue chalk paint, distressed, and waxed.
-
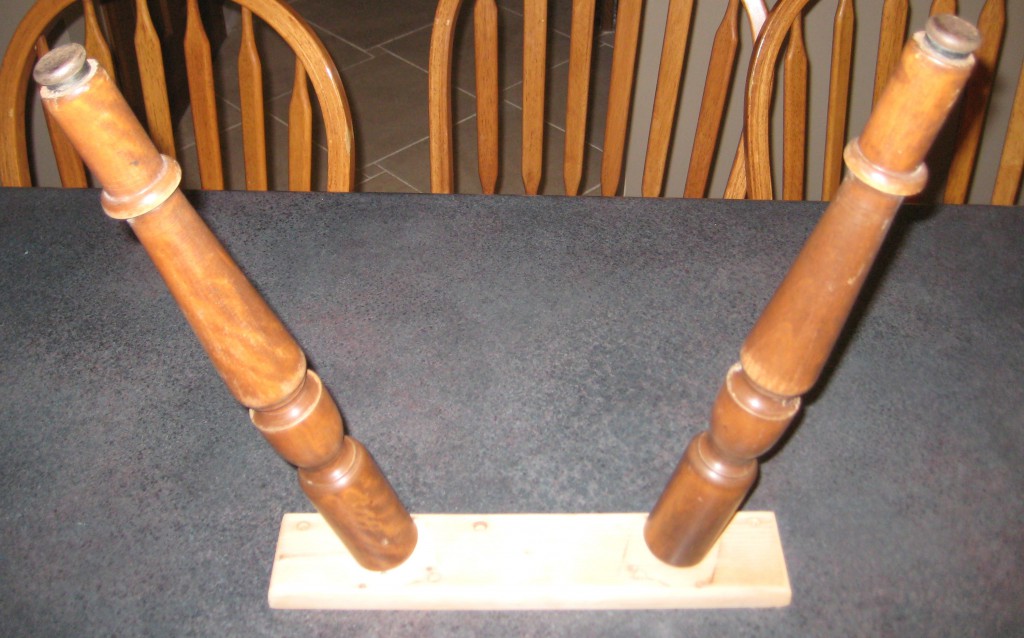
- Legs- Before
-

- Legs- After
It already looked sooooooooooo much better… but… it just didn’t seem to be “finished” yet.
So, I found a stencil…
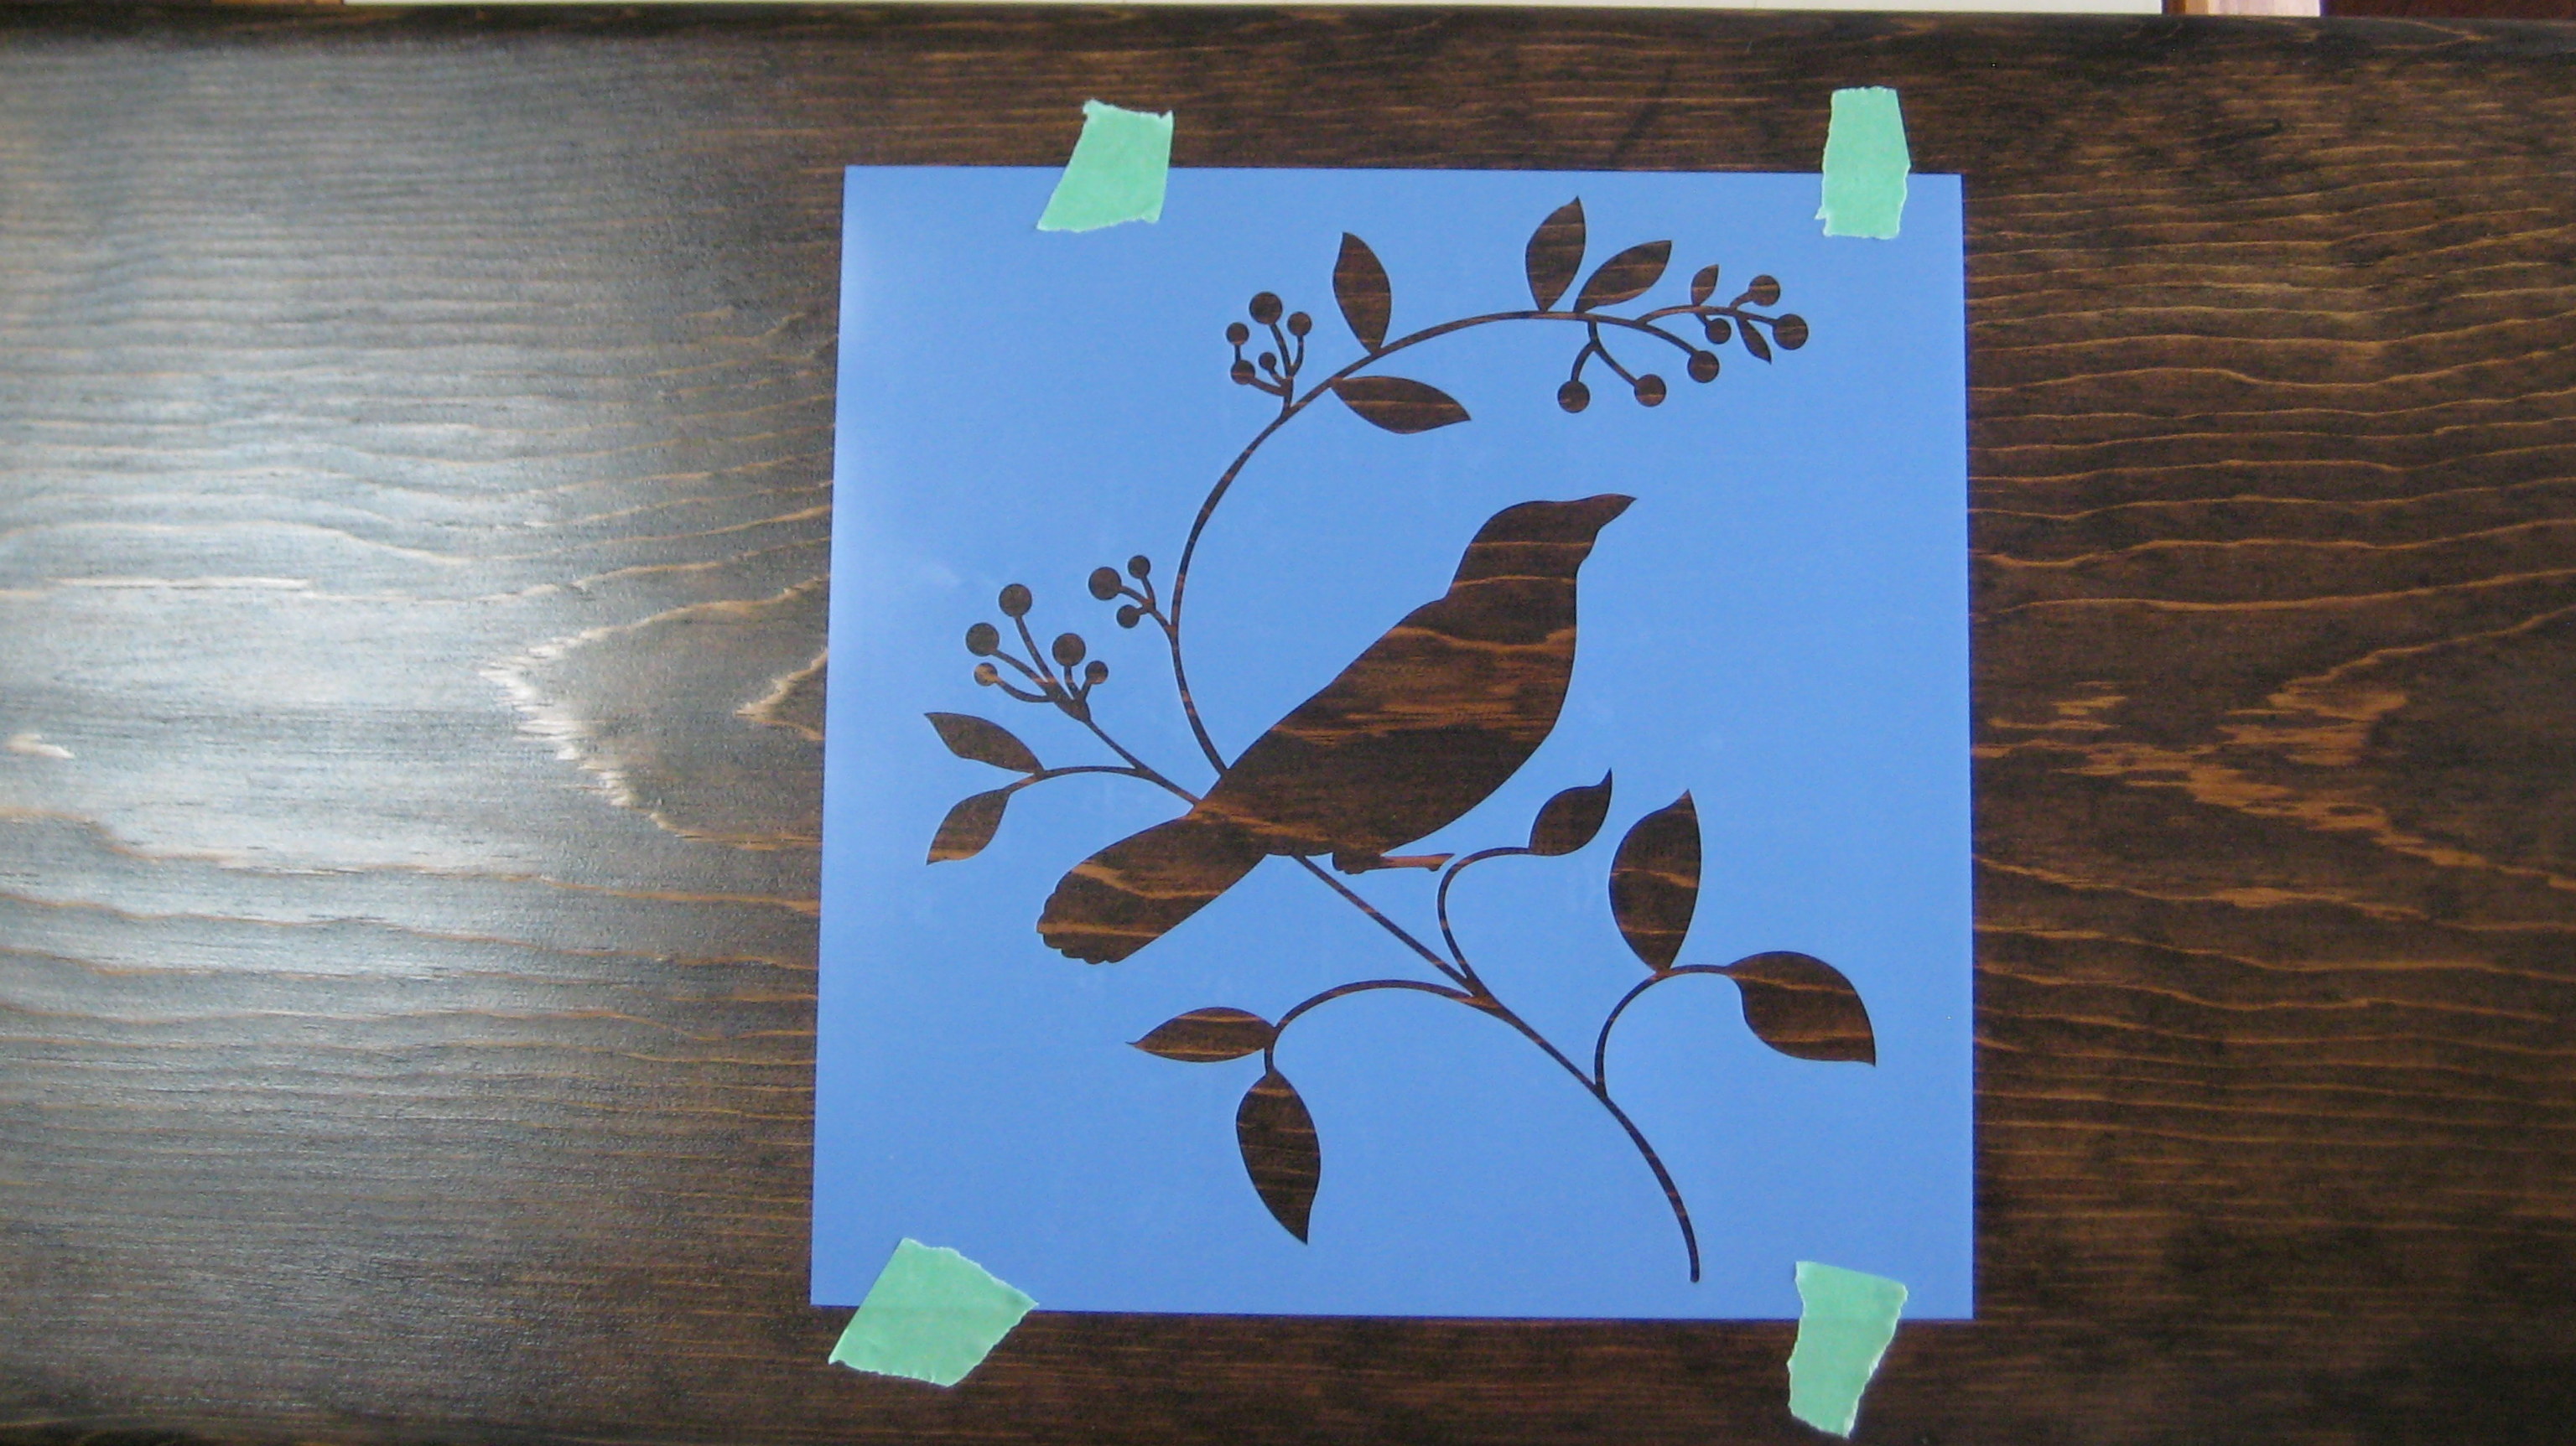
Stencil
…grabbed some painter’s tape…
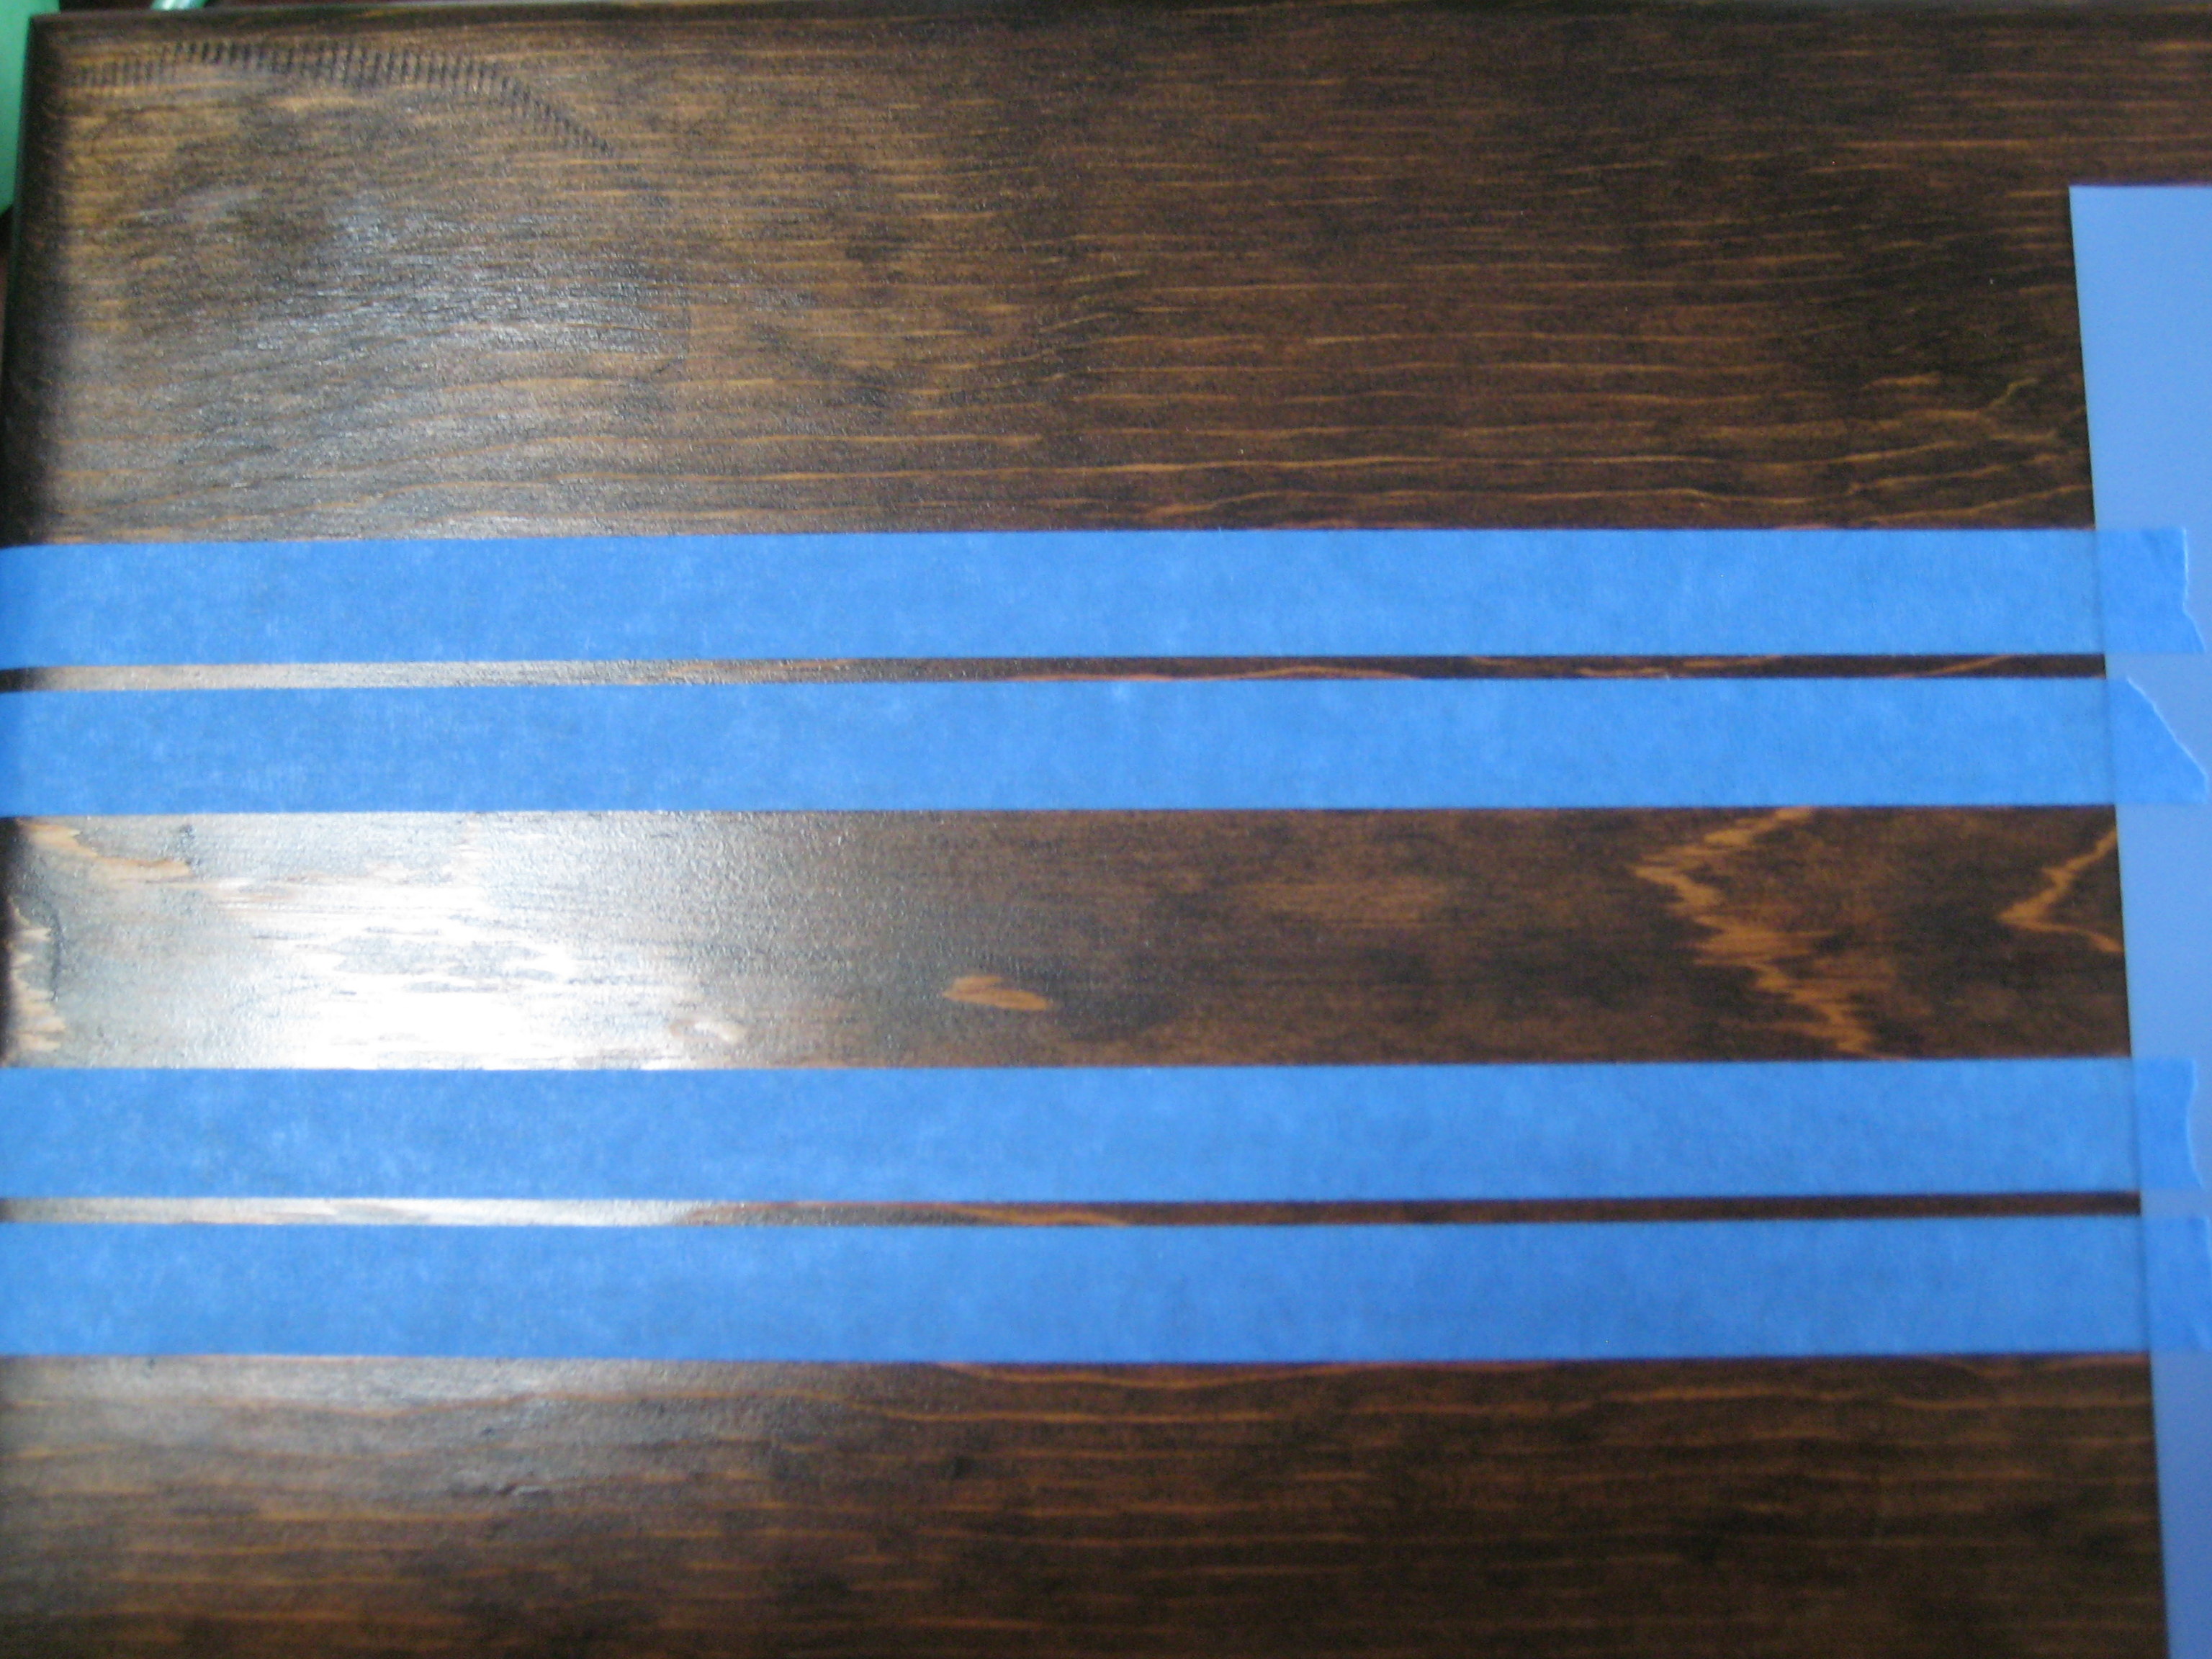
Tape
…and stenciled away!
-
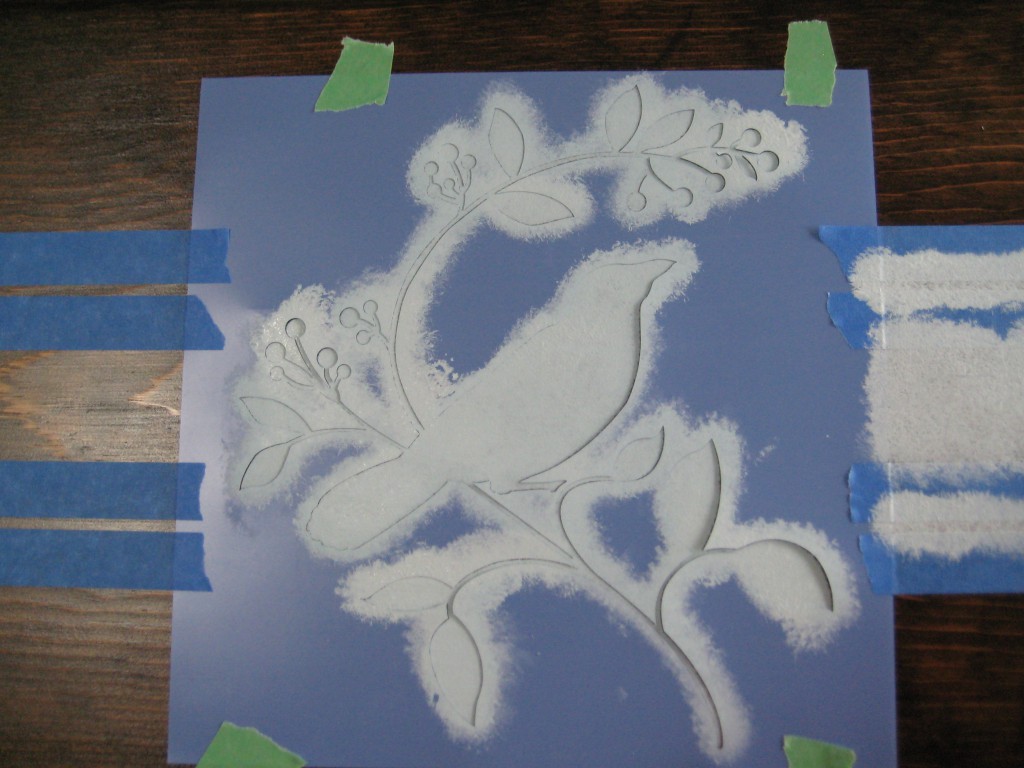
- Stencil- Painted
-
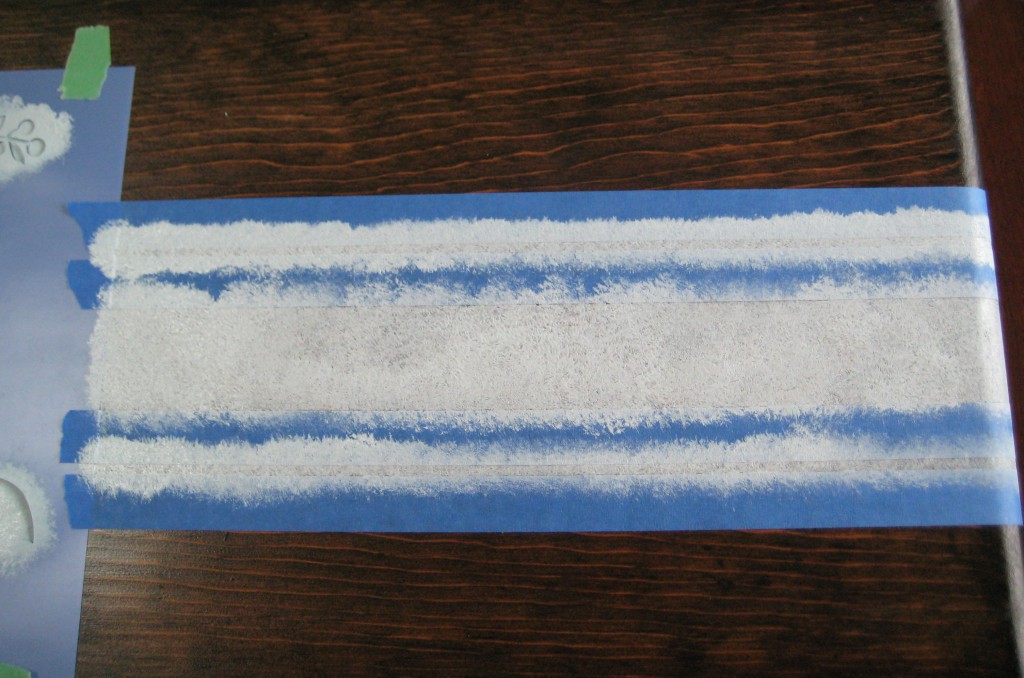
- Tape- Painted
Remember the Before???
-
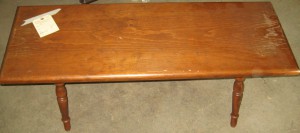
- Wooden Bench- Before
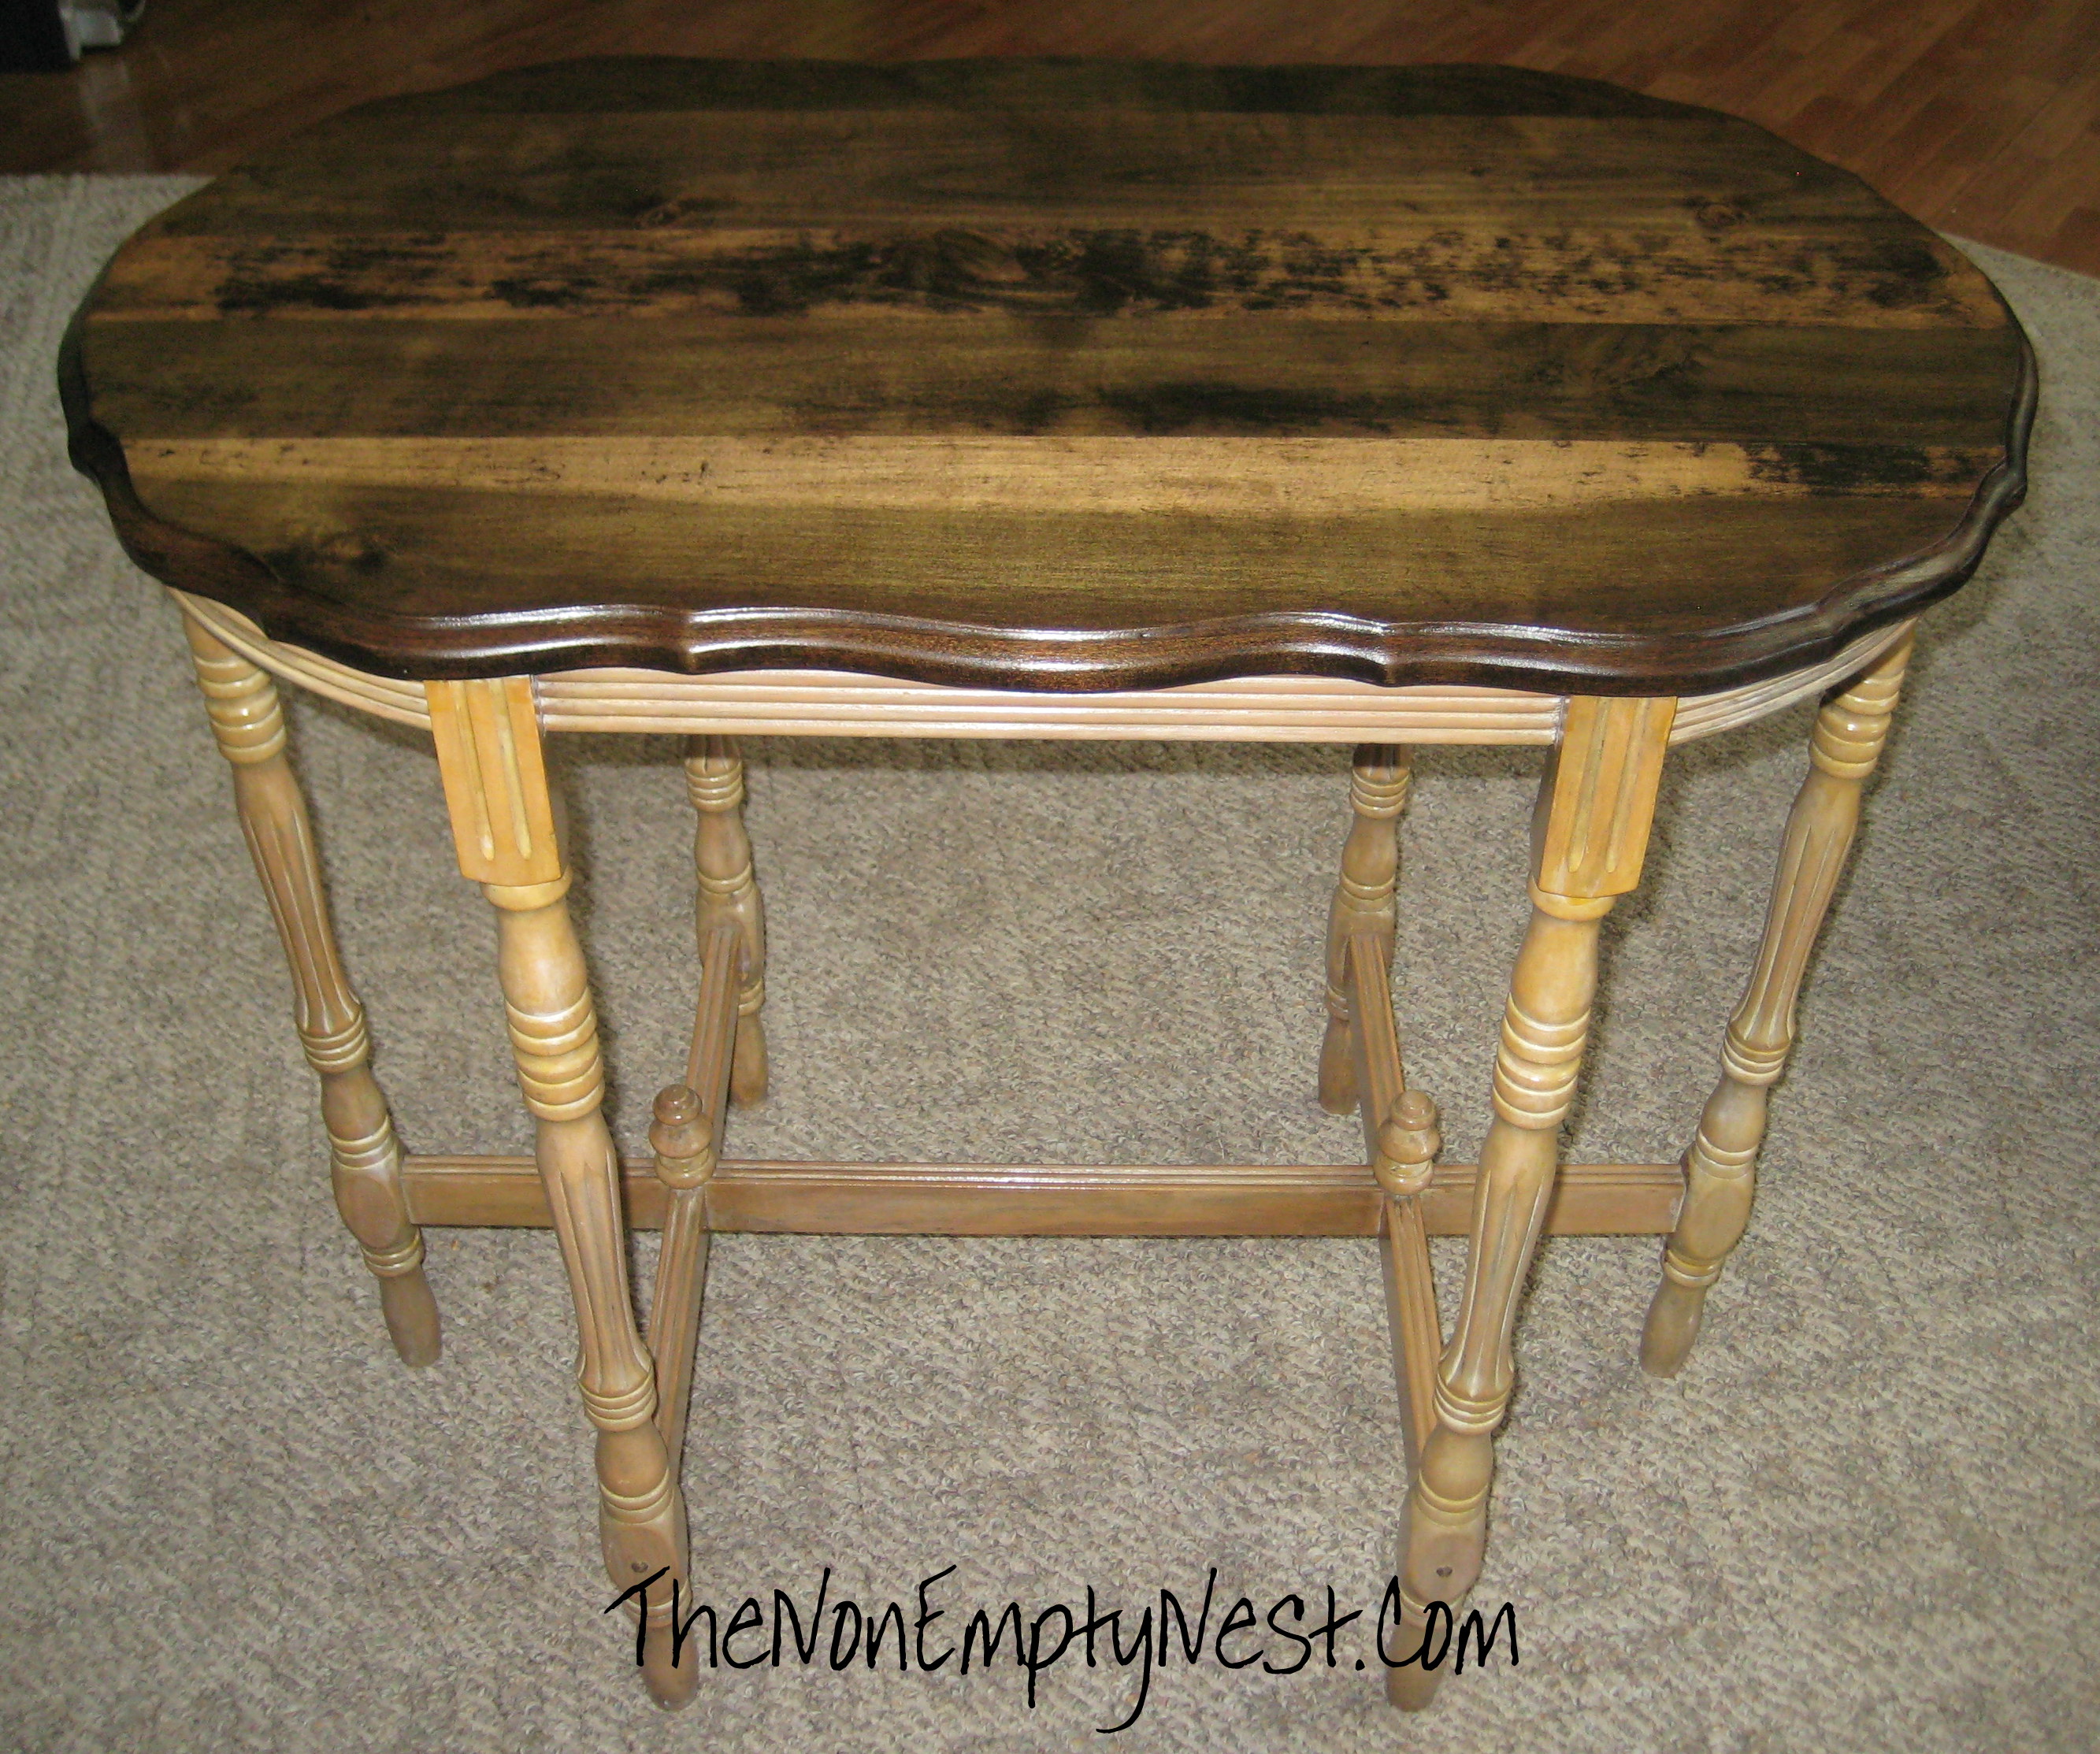
Well… check out the After!!!
-
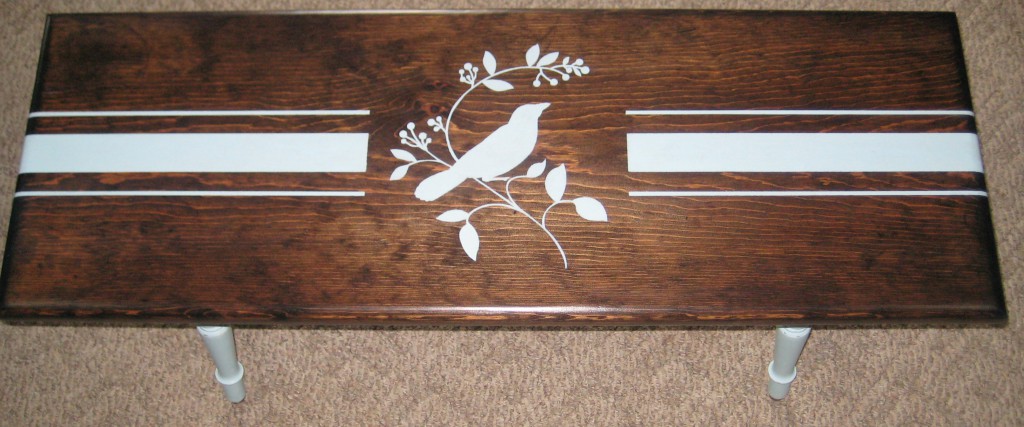
- Wooden Bench- After
WHAT A DIFFERENCE! I LOVE it!
Isn’t it amazing what a little bit of elbow grease, stain, and paint can do?!?
Don’t forget to CLICK ON THE LINK ABOVE to LEAVE A MESSAGE and let me know what YOU think!
Enjoy!
Lynn